GSI AudioStarPro - Set up, Connectivity, and Data Transfer
- 11 Jul 2022
- 1 Minute to read
- Contributors

- Print
- DarkLight
GSI AudioStarPro - Set up, Connectivity, and Data Transfer
- Updated on 11 Jul 2022
- 1 Minute to read
- Contributors
- Print
- DarkLight
Article summary
Did you find this summary helpful?
Thank you for your feedback!
ADMIN NOTE: You will need Administrative rights to install GSI Instrument Service, if it has not been installed previously.
Set up
- The AudioStarPro should come with a USB A-to-B cable that connects the unit to an open USB port on the PC.
- An appropriate party (equipment distributor, internal IT or BioMed technician, or AudBase technician) should also install the GSI Instrument Service version that is compatible with the firmware on the AudioStarPro.
- The ASP does not require additional AudBase configuration, but if you are replacing a GSI-61 AND there is no Tympstar Classic (older serial device) connected to the same PC, please call AudSoft support to obtain instructions on how to disable COM ports, as they will no longer be needed for equipment connectivity.
Connectivity
- The ASP is plug and play with AudBase version 2.3.976 and greater. Only the compatible GSI Instrument Service needs to be installed. GSI Suite is not required.
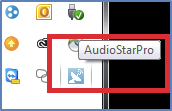
- To verify connectivity between the unit and the PC, find the GSI Instrument Service icon in the notification area and hover the mouse over it. A bubble should appear, displaying Device Connected: AudioStarPro or simply AudioStarPro depending on version.
- If there is no GSI Instrument Service icon or the connectivity bubble does not appear, see Instrument Service Troubleshooting.
Data Transfer
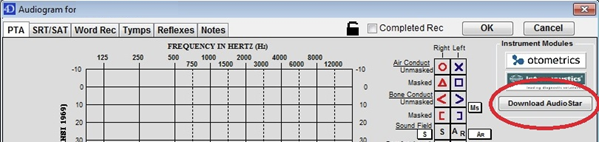
- From the PTA, SRT/SAT/SIN, or Word Rec tab of a patient record in AudBase, click the “Download AudioStar Button”
- The AudioStar should send the entire data set – audiogram and speech/WRS – with one click.
*For technical assistance, please call the AudSoft Helpdesk at 1-888-959-6790
Or start a ticket by emailing a description of your request to: support@audbase.com