AudBase 3.0 Guidebook
- 29 Oct 2021
- 12 Minutes to read
- Contributors

- Print
- DarkLight
AudBase 3.0 Guidebook
- Updated on 29 Oct 2021
- 12 Minutes to read
- Contributors
- Print
- DarkLight
Article summary
Did you find this summary helpful?
Thank you for your feedback!
AudBase Guidebook
Table of Contents
See the Table of Contents on the right side of this page to navigate the AudBase Guidebook.
Opening AudBase
- Login into the computer.
- Double click on the “AudBase Client.exe” icon on the computer desktop.
- Type in your “User Name” and “Password” and click “Login”.

Choosing a patient off the worklist
-On the Home Window click Subject list.

- Then click the Worklist button
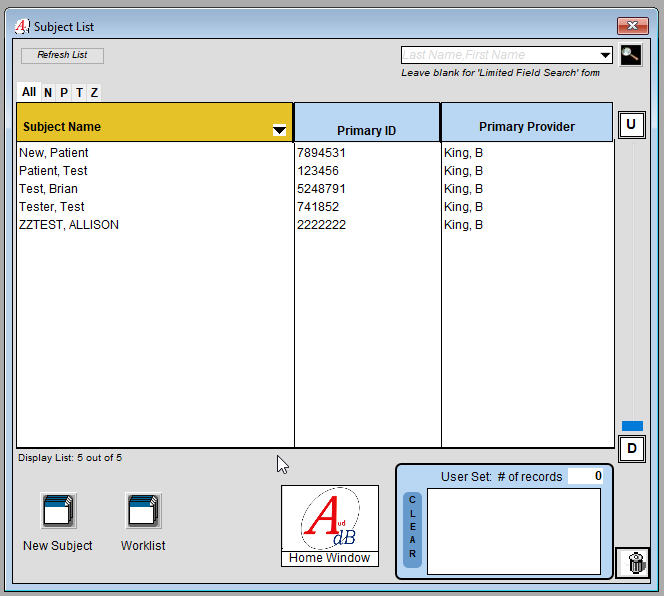
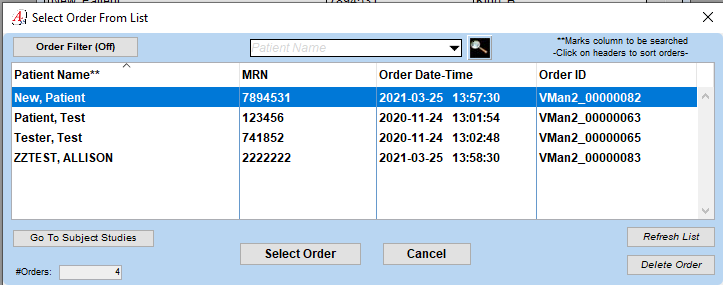
- Choose the appropriate patient off the worklist, then “Select Order”
- A new audiogram will open, and you can conduct testing in this record.
Performing Pure-Tone Air & Bone Conduction Testing
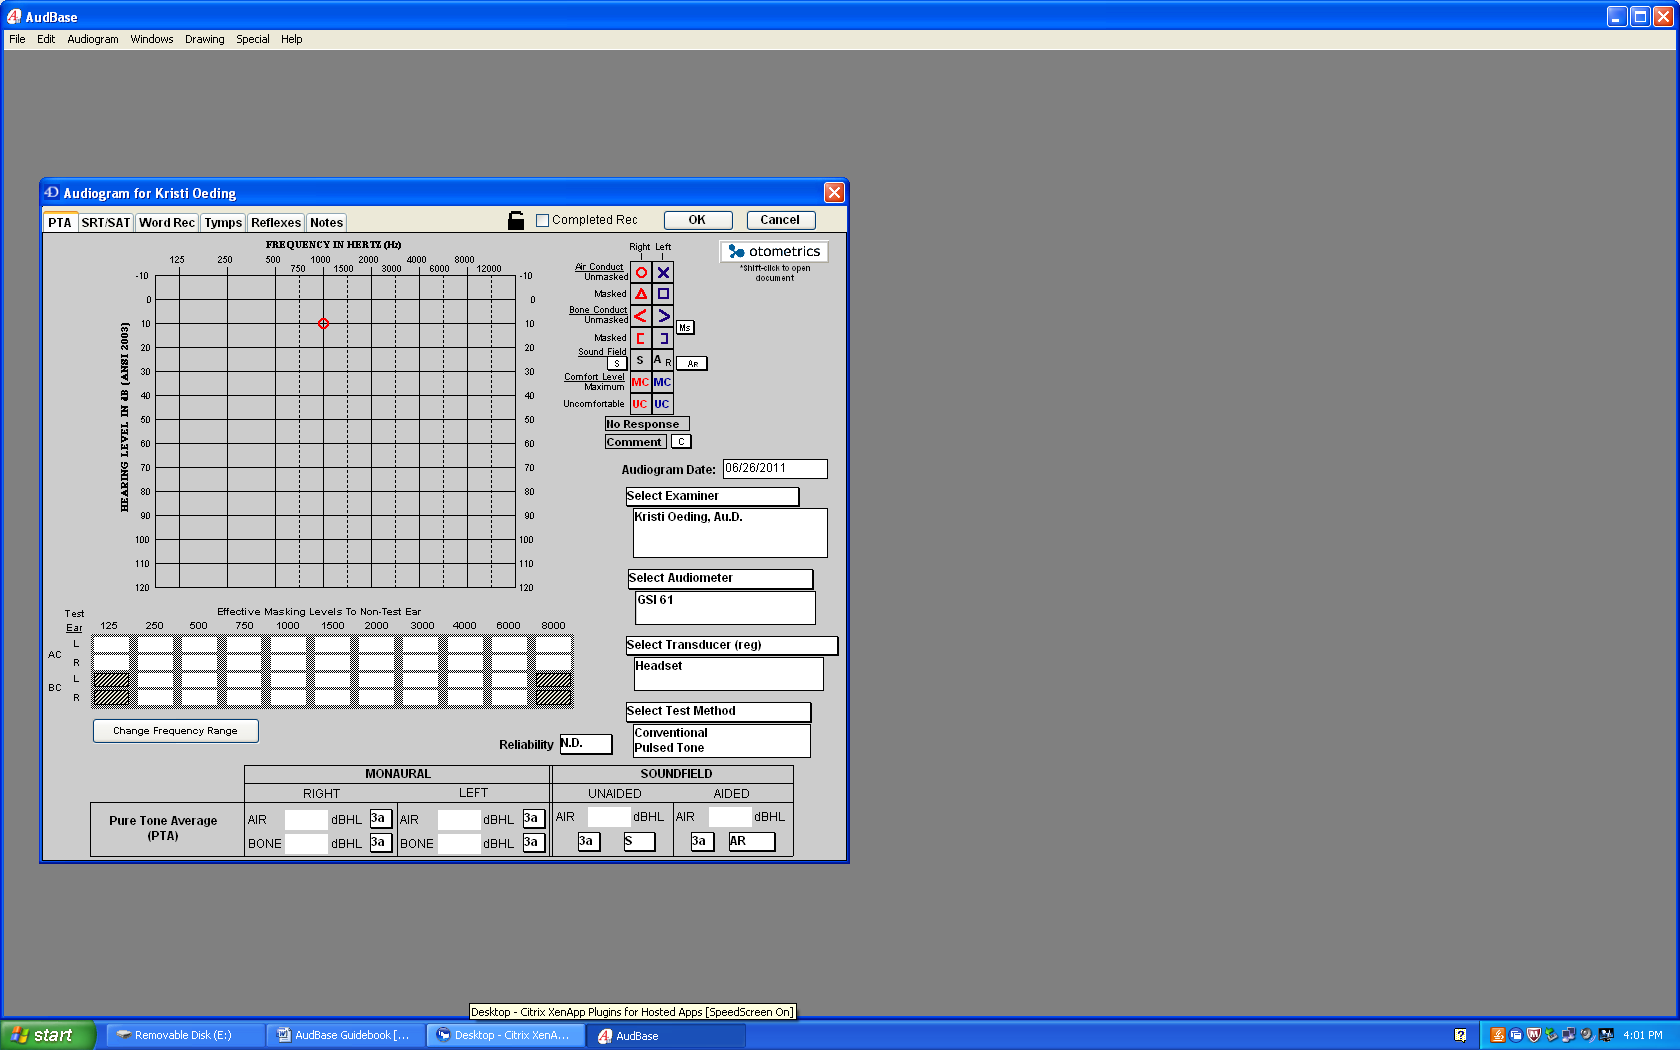
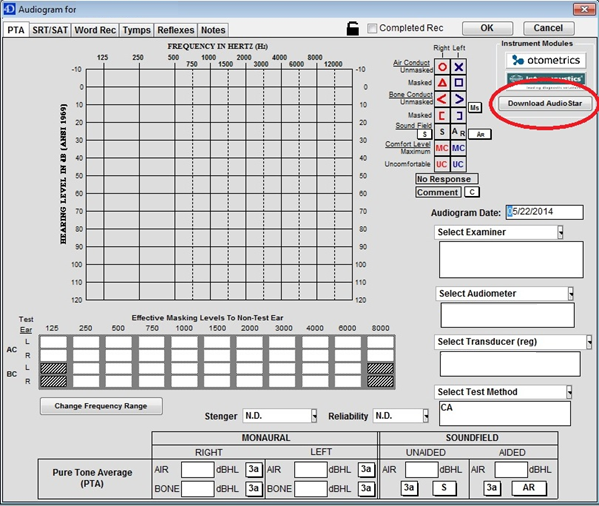
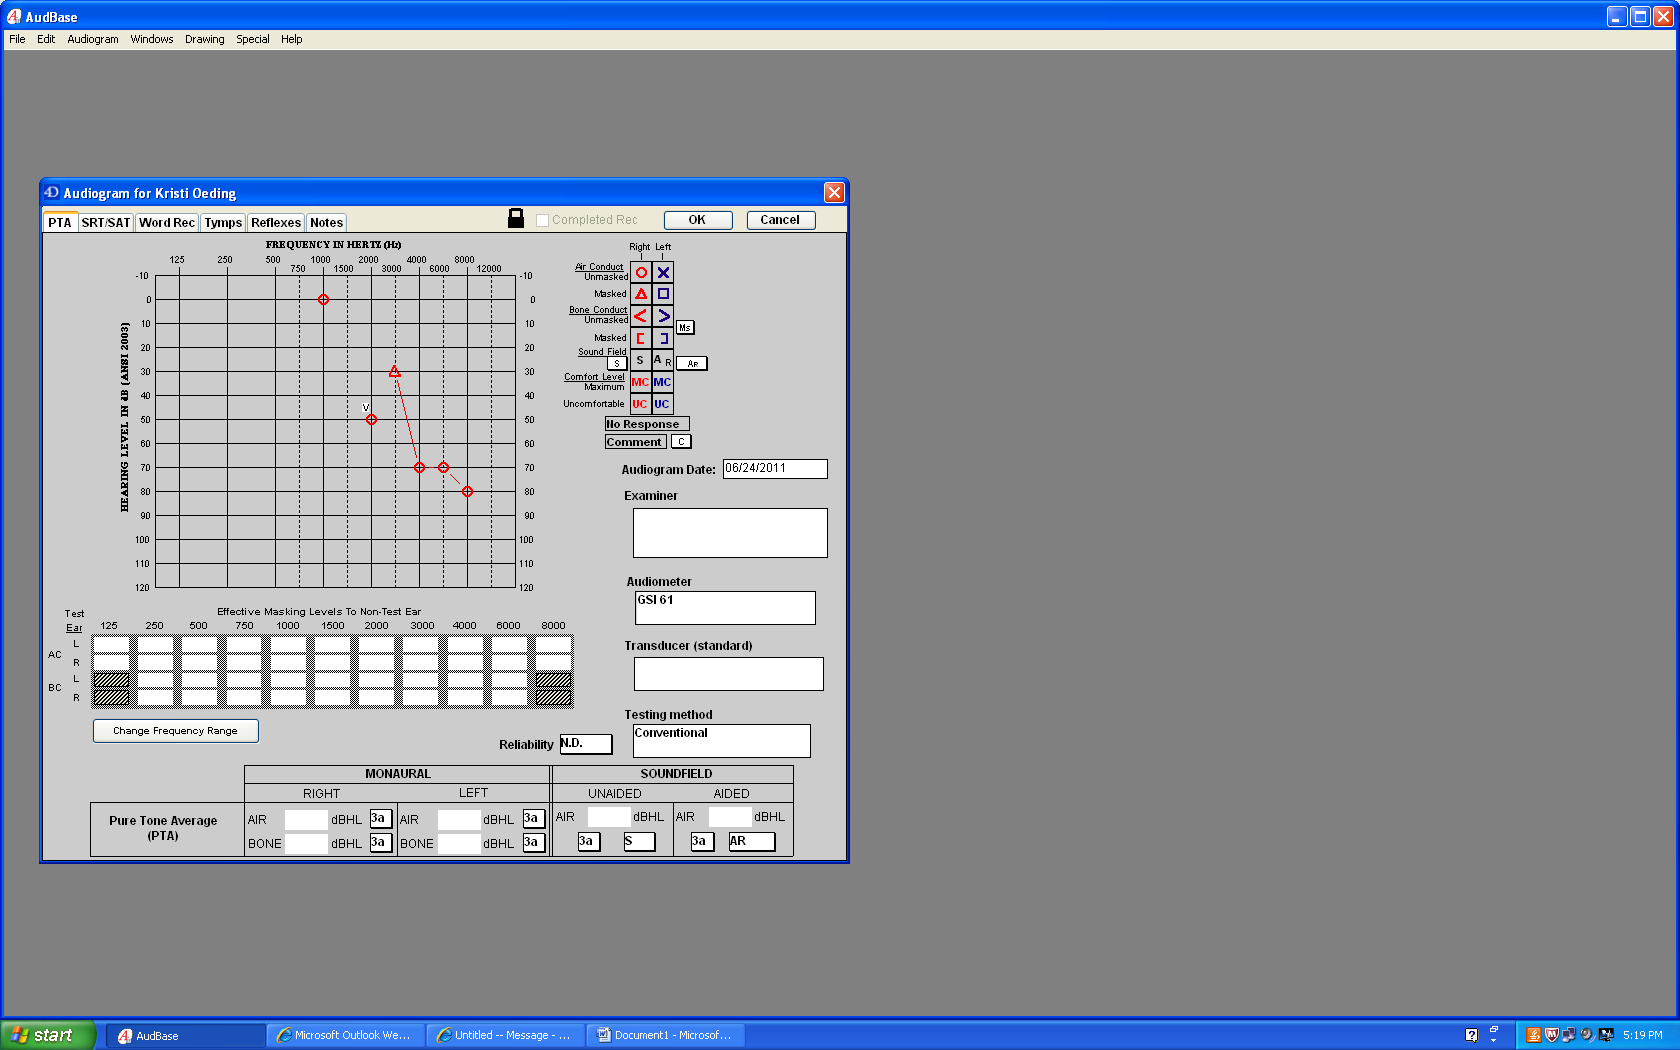
Below is the audiogram template:

- Examiner name, audiometer, transducer, and test method can be defaulted or changed with the drop down menus on the right hand side.
- To change to your name, click on the “Select Examiner” box and click on your name. Two or more names can be added to this box.
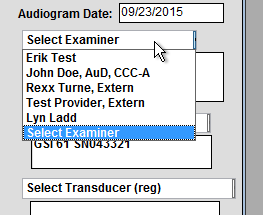
- Repeat the same steps for Audiometer, Transducer, and Test method, when appropriate.
Testing using a GSI-61 Audiometer:
Data Transfer
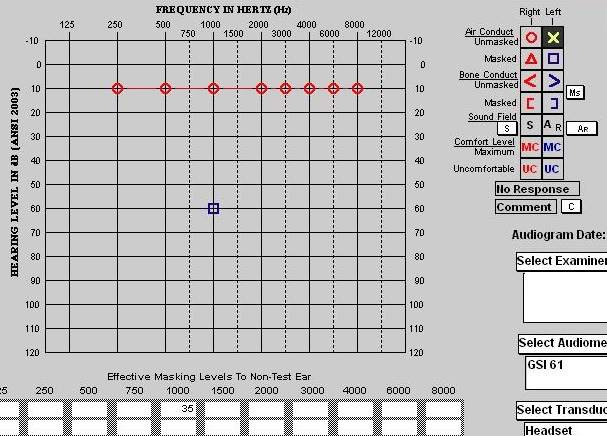
Perform pure-tone audiometry and find the first threshold. Once the first threshold is established, press the “Data Transfer” button on the audiometer, which is under “Remote”.

The first threshold will appear in AudBase:
- Continue performing pure-tone air conduction audiometry at each frequency and press the “Data Transfer” button after each threshold is established.
Masked thresholds:
- Leave the masking noise on, press the “Data Transfer” button. Note: If the noise is turned off and “Data Transfer” is pressed, an unmasked symbol will appear. This will also occur if the masking noise and tone are presented to the same ear.
- Note that only the final masking level is displayed in the “Effective Masking Levels to Non-Test Ear” box (below audiogram).
- Leave the masking noise on, press the “Data Transfer” button. Note: If the noise is turned off and “Data Transfer” is pressed, an unmasked symbol will appear. This will also occur if the masking noise and tone are presented to the same ear.
- If you forget to leave the masking noise on, turn the masking noise back on and press the “Data Transfer” button or click on the desired masked symbol in the symbol legend on the right side of the screen and click on the unmasked symbol in the audiogram.
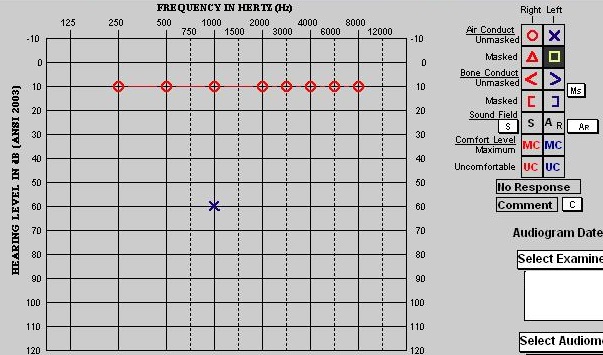
- To change a masked symbol to unmasked, click the masked symbol in the audiogram legend on the right side of the screen so it is highlighted and click the masked symbol in the audiogram.
- To delete a threshold from the audiogram, click and highlight the unmasked symbol in the symbol legend on the right side of the screen, then click on the symbol in the audiogram. If the symbol is masked, click the masked symbol in the figure legend and click the symbol in the audiogram to change it to unmasked. Then click the unmasked symbol in the figure legend and click the unmasked symbol in the audiogram to delete it.
No response thresholds:
- Click on “No Response” in the symbol legend and press the “Data Transfer” button. Click the “No Response” in the symbol legend to de-highlight it for the next threshold if there is a response. Note: The no response symbol will appear at the specific decibel level on the audiometer screen when you press “Data Transfer” and will not automatically appear at the limits for that particular audiometer.

Adding comments to symbols:
Follow the steps for no response thresholds, except click on the “Comment” box in the symbol legend.

-To choose a specific symbol, click on the box to the right of “Comment” to view the list.
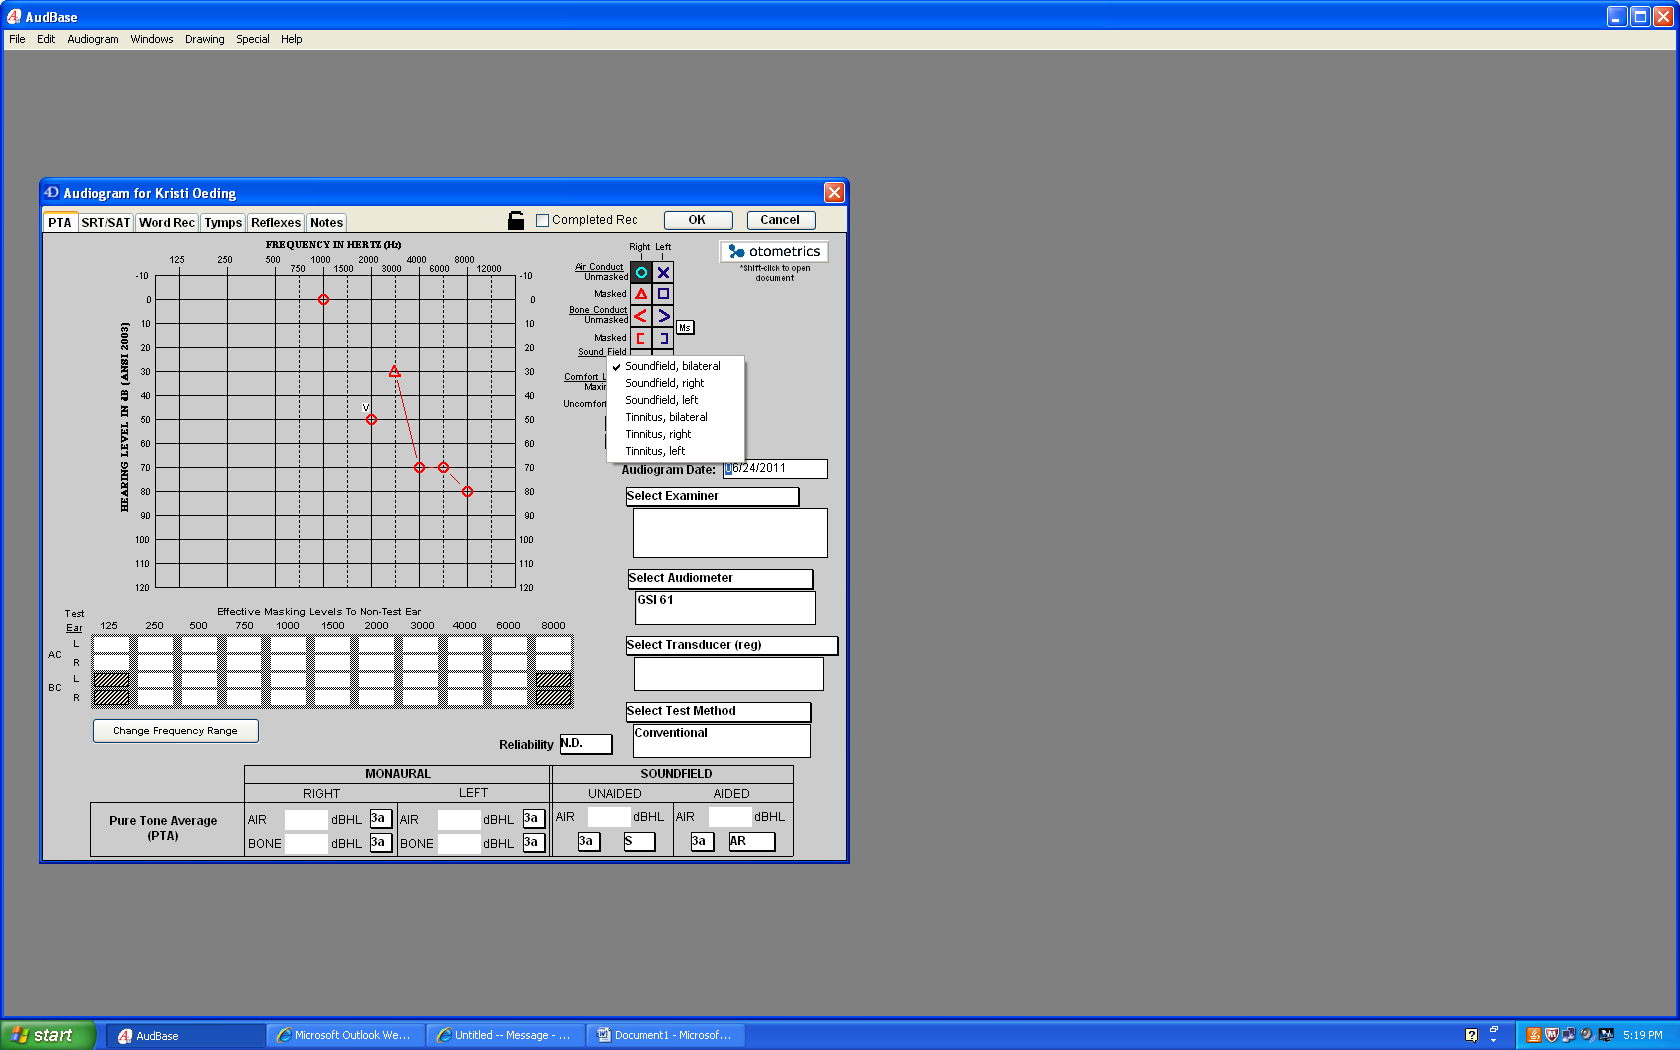
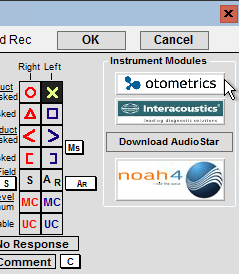
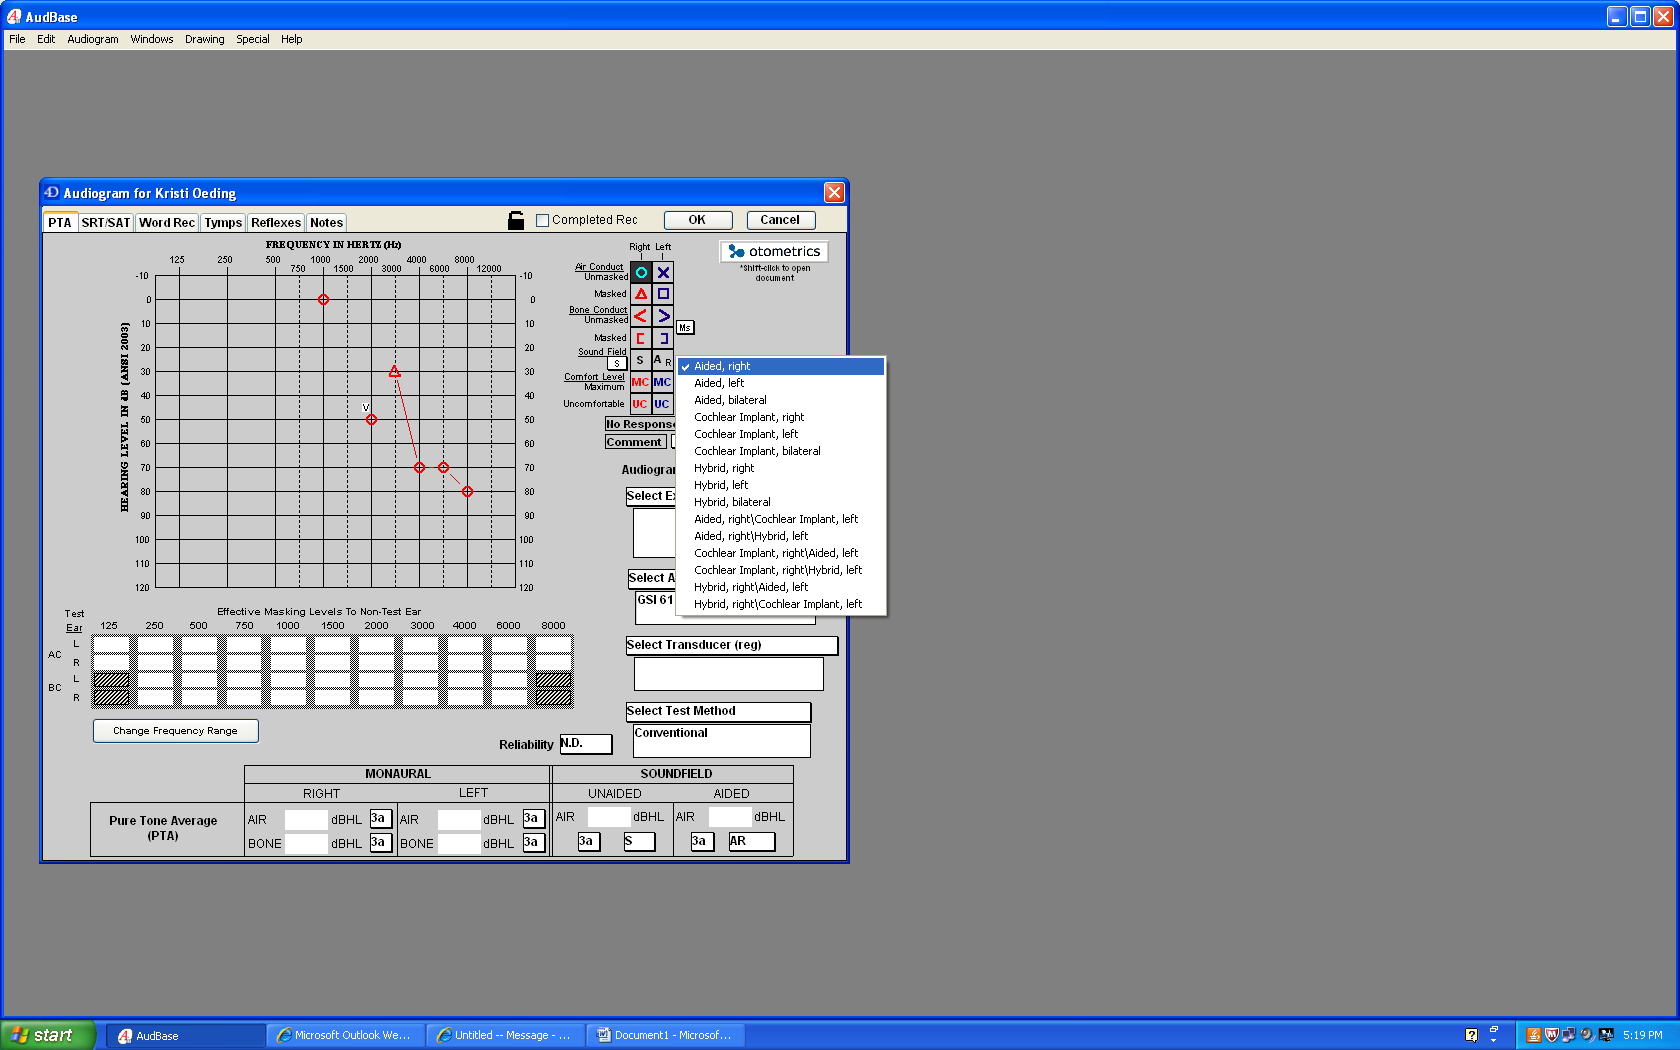 -There are options for comments and special symbols, such as ear-specific soundfield symbols. To use a special symbol, click on the white shadow box in the symbol pallet, then click on the symbol to highlight it, then click the desired threshold:
-You can also use the “Soundfield Aided” symbols to identify aided testing conditions.
 -There is also the option of an unspecified bone conduction symbol or forehead symbol.
- To state the reliability of testing, click on the box to the right of “Reliability” and click on the desired choice. Note: There is not an option to document validity as in our current audiogram. This information can be added in the notes section.

- To view the high frequency audiogram, click on the “Change Frequency Range” button below the “Effective Masking Levels to Non-Test Ear” boxes.
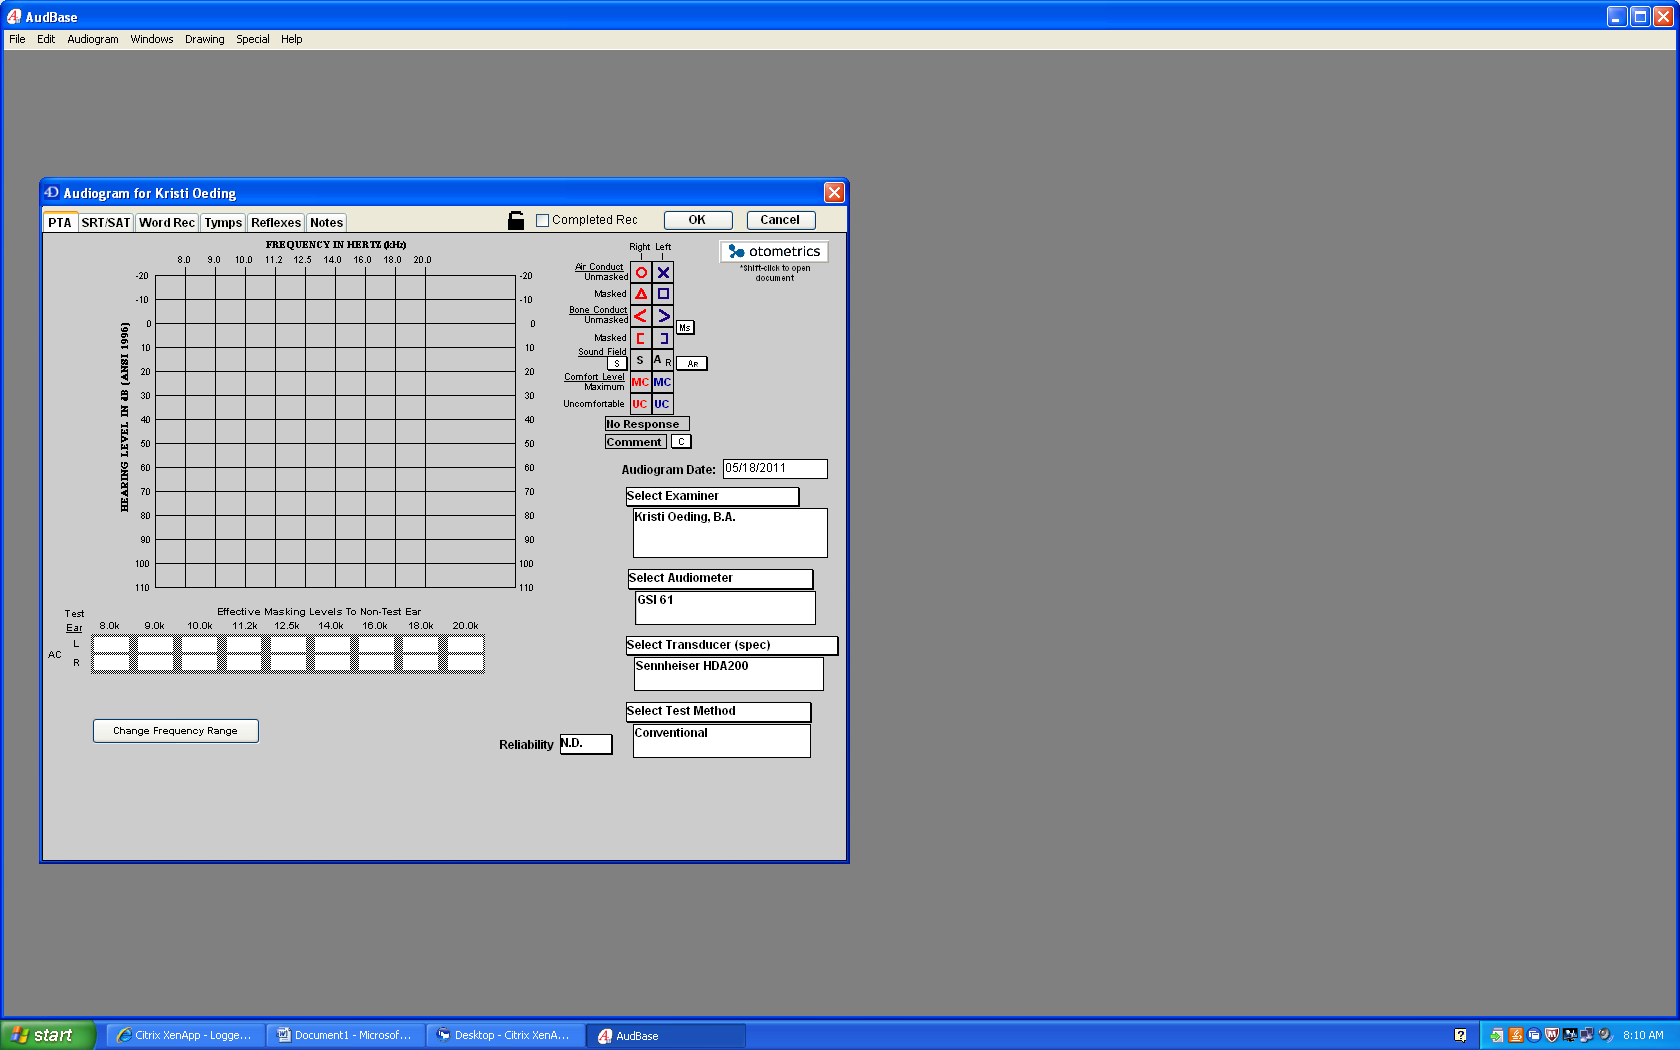
SAT/SRT
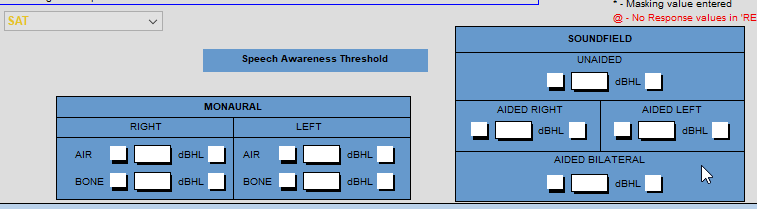
- Click on the SRT/SAT tab. The following screen will appear:

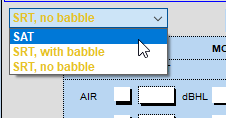
- To change from SRT to SAT, click on the “SRT no babble” dropdown list and click on SAT.
- When the SAT/SRT threshold has been established, press the “Data Transfer” button. The SAT/SRT threshold will appear as shown:
-The SAT/SRT may also be manually entered by clicking on it and typing in the threshold. To add masking, click the first box after “Air” and type in the final masking level. Note: If masking noise is used, it will appear as an “*” in the first box after “Air”.

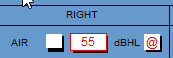
-For a no response SAT/SRT, click the box next to “dB HL”. An “@” symbol will appear. When this symbol is present, the SAT/SRT for this ear will be labeled as NR on the final audiogram.
Word Recognition Testing
- Click on the “Word Rec” tab. The following screen will appear:
- When the Word Recognition Score has been established, press the “Data Transfer” button. The WRS threshold will appear as shown:

Note: In order for the data to transfer over via “Data Transfer” you must use the “Correct” and “Incorrect” buttons on the GSI-61. If you do not use the “Correct” and “Incorrect” buttons the audiometer will not transfer the data. WRSs may be manually entered into the first box with “%” behind it by clicking on it and typing in the score. Enter the level of the NU-6 lists by typing in the box with “dB HL” behind it. To add masking, click the first box after “Air” and type in the final masking level.
Note: If masking noise is used, it will appear as an “*” in the first box after “Air”.
Word list # information can only be added in the notes section.
- If more than one WRS is performed per ear, the data will transfer to the slot below:

Testing using an AudioStar Pro (ASP)
- To start a new patient record in the AudioStar Pro, press “Data Erase” button on the audiometer, then either erase the session or all data.
- In order to capture the data from the ASP, you will conduct and build your full test battery in the audiometer by hitting “Save” on the ASP for each threshold.
- Once you have completed the appropriate tests (including SAT/SRT and Word Rec), click on the “Download AudioStar” button in AudBase. You may receive a prompt indicating that the selected patient does not have an ID, just click “OK”. All data from the AudioStar Pro will be transferred to the open AudBase record.
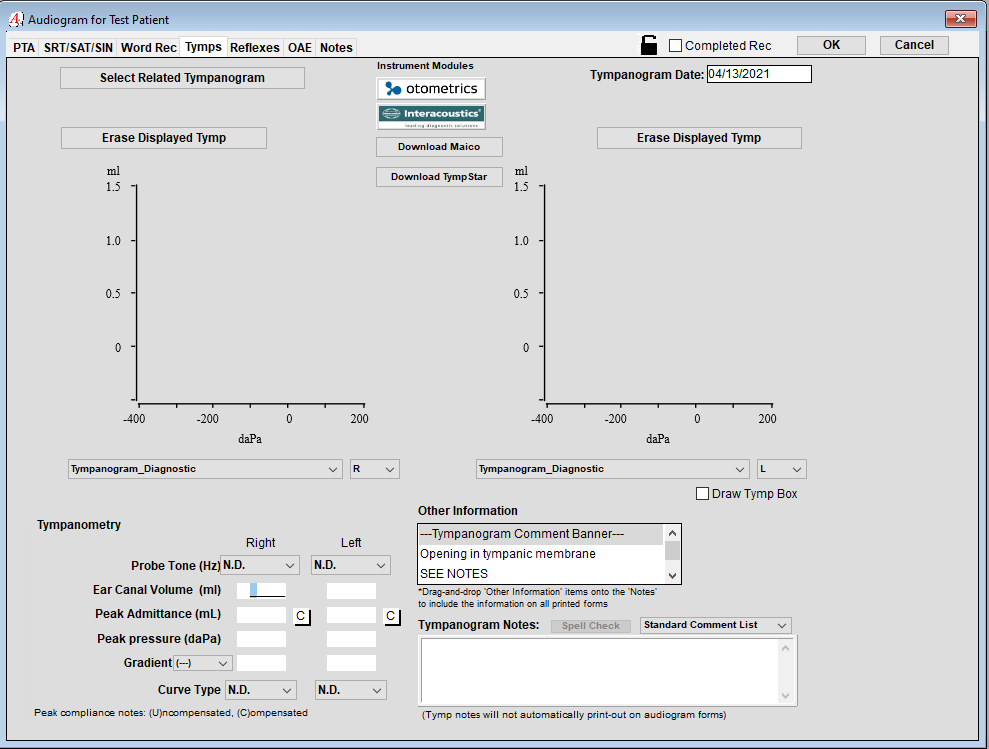
Performing Tympanometry
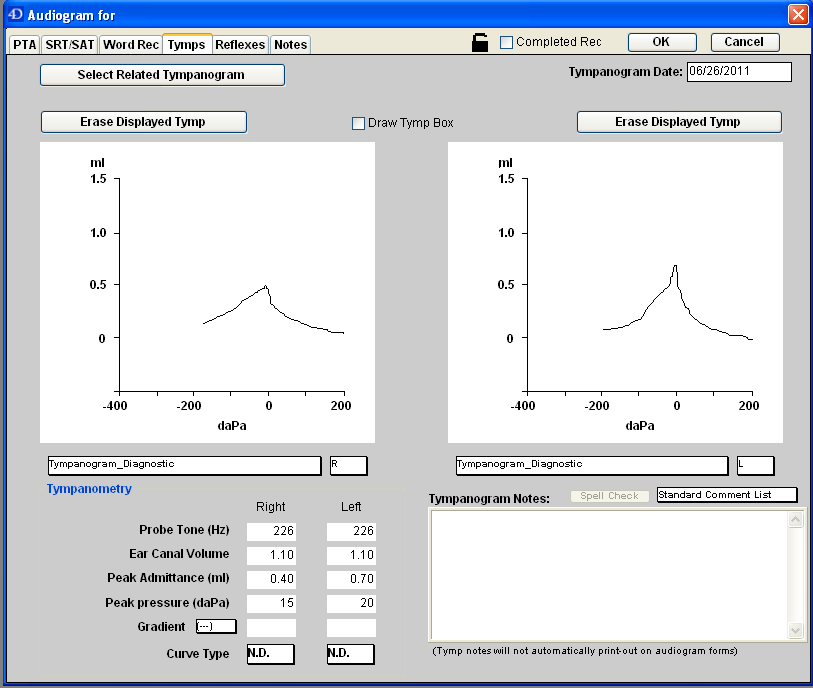
Click on the “Tymps” tab. This is the tympanometry screen:

It is important when performing all immittance tests that you indicate which side (right or left) you are testing in order for the data to transfer to the proper box.
Tympstar
- Perform a tympanogram.
- There are two ways to transfer the data:
- Press the “Data Transfer” button on the Tympstar after each tympanogram is completed. Only what is shown on the screen of the Tympstar will transfer to AudBase.
- Wait until all immittance is performed, press the “Page” button, and then press the “Data Transfer” button. With this method, all data on all pages will be transfered over when you press the “Data Transfer” button.
- Note: If two tympanograms are performed on the same ear, the last tympanogram performed will be the one downloaded into AudBase.
- If only completing tympanometry and all data has been transferred, press the “Page” button screen and erase all data for the next user.
TympStarPro
- Perform a tympanogram.
- In AudBase click the “Download TympStar” button
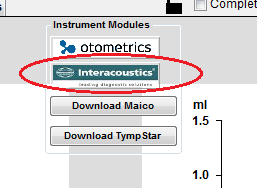 Titan
Titan
- To launch TitanSuite, click on the Interacoustics button on the Tymps tab.
*Note: The patient must have a valid birthdate to open TitanSuite*
- Within TitanSuite, conduct Tympanometry or Quick Transfer the patient data to Titan Suite. Along the right side, click the IMP tab to display the tymp. If there is more than one session for the imported patient (Right ear/left ear), use the drop down on the left to view individual testing sessions.
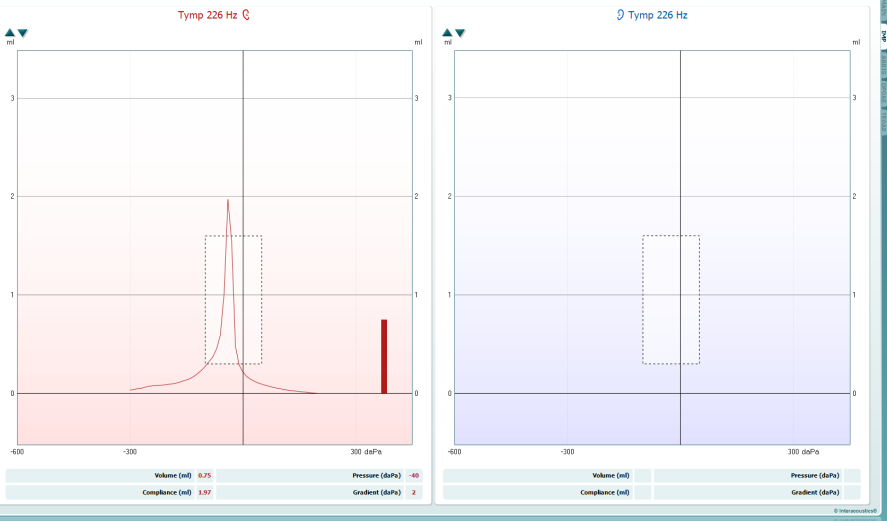
- When finished with testing, click the Save and Exit button. The testing results will then transfer to AudBase.

Curve Type and Normative Box
When transfering data, the tympanogram tracing and all tymp/reflex data will be transferred to AudBase:
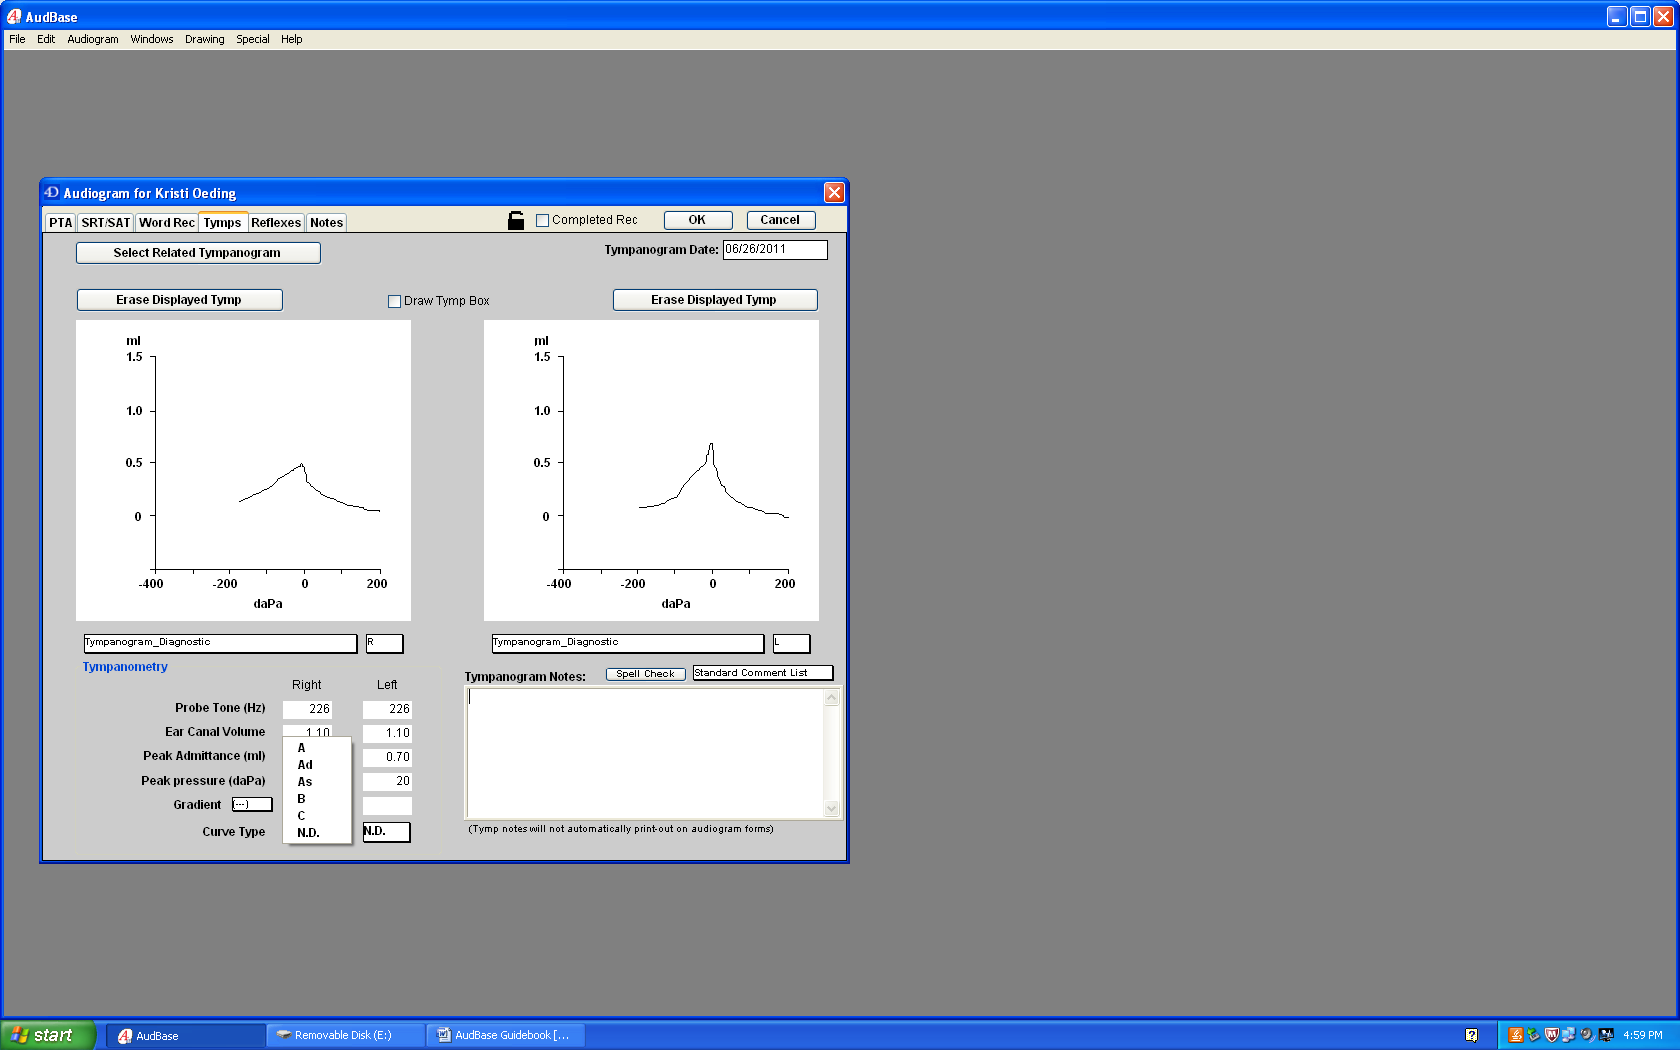 -At the bottom you may choose the tympanogram type by clicking on the “Curve Type” menu and clicking on your choice:
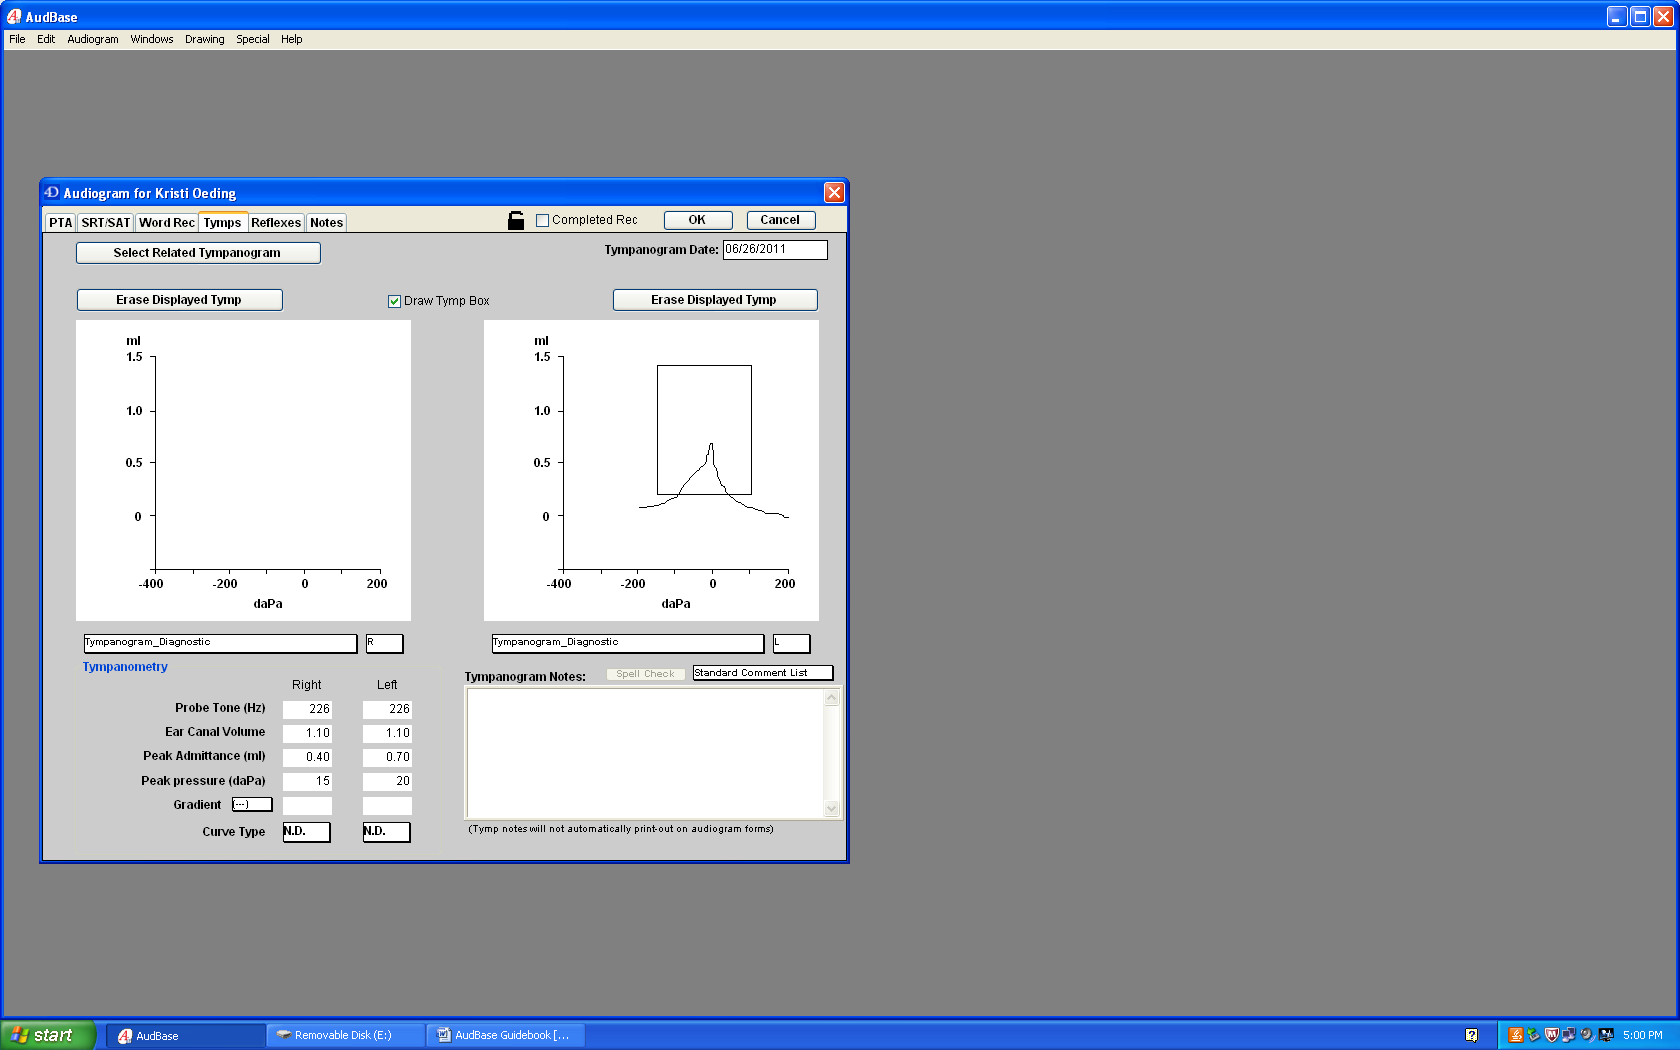 A box showing normal limits can be displayed by clicking the “Draw Tymp Box”.

Performing Acoustic Reflex Thresholds
- Click on the “Reflexes” tab. Below is the “Reflexes” tab screen:

- Make sure the ear you are testing is selected.
- The last reflex threshold on the screen is what will be transferred into AudBase.
- Therefore, if you find threshold for example at 80 dB, then go down 5 dB to confirm this threshold, but do not erase 75 dB, 75 dB will be transferred into AudBase.
- There are two ways to transfer the data:
- Press the “Data Transfer” button after each reflex threshold is established. What is shown on the screen of the Tympstar will transfer to AudBase (two reflexes may be sent at a time, or one depending if you erase reflexes before it goes to the bottom screen) or
- Wait until all immittance is performed, press the “Page” button, and then press the “Data Transfer” button. All data on all pages will be transfered over when you press the “Data Transfer” button
 The data can also be entered enter manually using drop-down menus, by clicking on the respective box and clicking on the value.
- For absent reflexes, you must click the box next to the respective value, as shown below, so that an “@” sign appears. The final audiogram will read “ABS” at this frequency.

Performing Acoustic Reflex Decay
- There are two ways to transfer the data from a Tympstar:
- Press “Data Transfer”. What is displayed on the Tympstar screen will transfer OR
- Press the “Page” button and press the “Data Transfer” button to transfer all the data that was collected.
- Data from software-driven devices (Titan/Otoflex/Zodiac, etc) and the TympStarPro will transfer Reflex decay data when you transfer tymp data from the application or device.
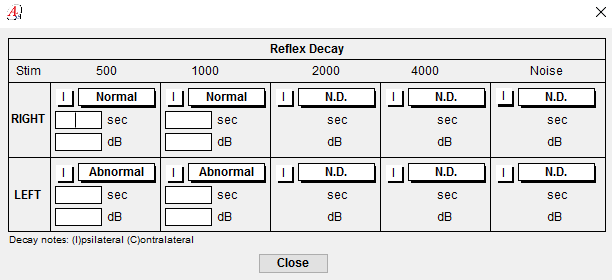
- Reflex decay will display as either normal or abnormal.
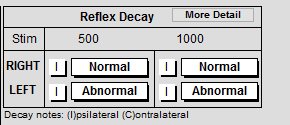
- Time in seconds and level, as well as additional frequencies are available by clicking the “More Detail” button.
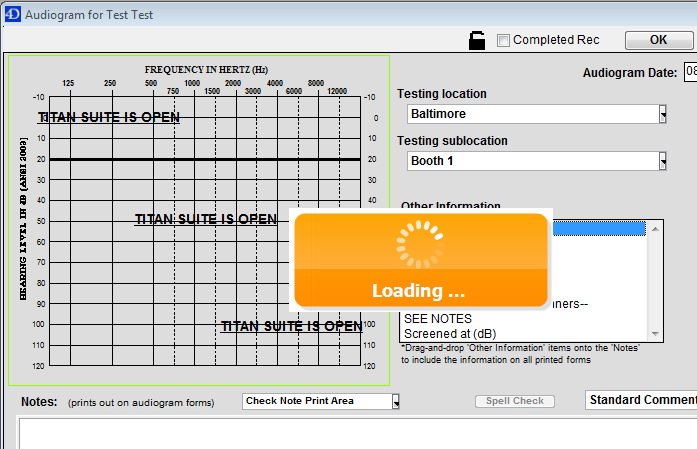
Using OtoSuite connected equipment
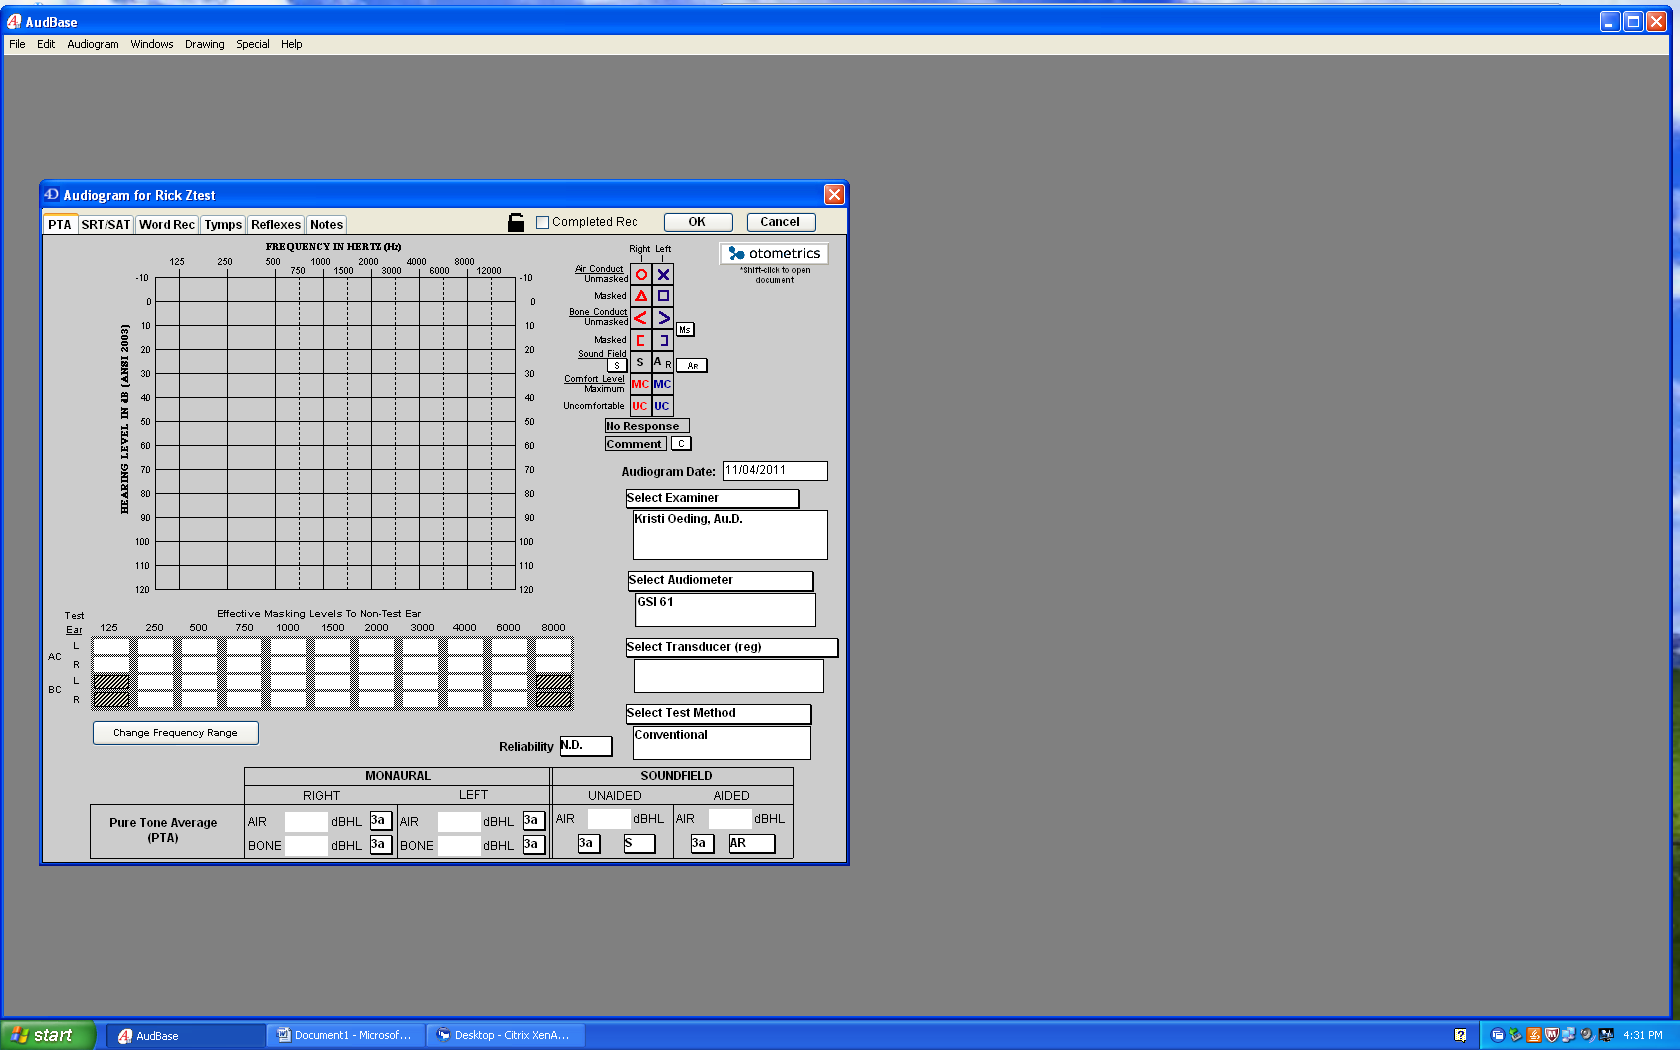
- Perform all of the steps under the “Opening AudBase” section of this guidebook. When you are in a new audiogram, launch OtoSuite by clicking the Otometrics button on the right side.
- All of the information for AudBase will be collected in OtoSuite. During this time, the AudBase screen will look like this:
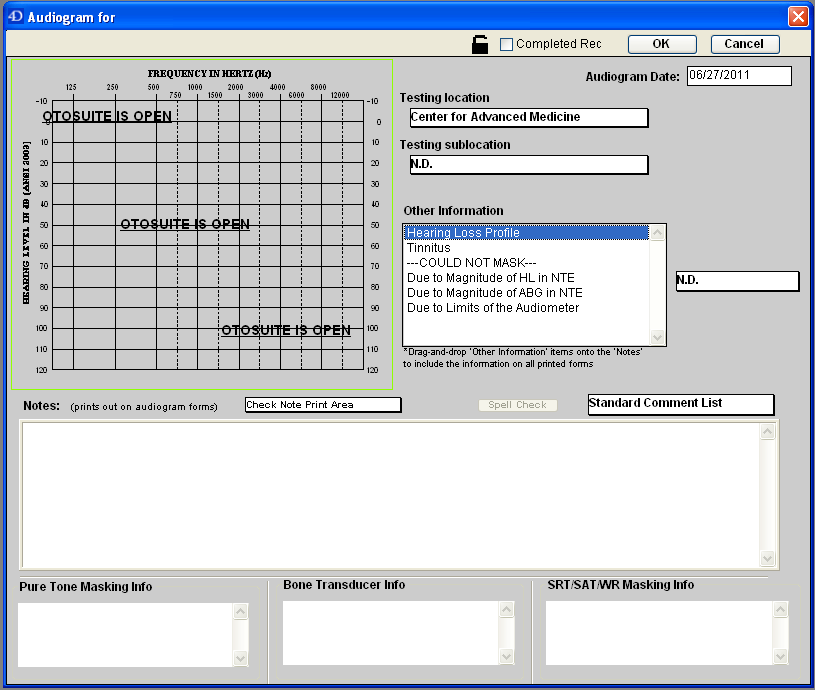
-At this time you will only be able to add notes.
- If you are unfamiliar with storing data in OtoSuite, here are some tips:
- To save a threshold, double click at the particular frequency and threshold level, or press the “Store” button on the audiometer.

- For masked thresholds, the masking noise must be left on in order for the symbol to appear as masked before you press “Store” or double click on the screen.
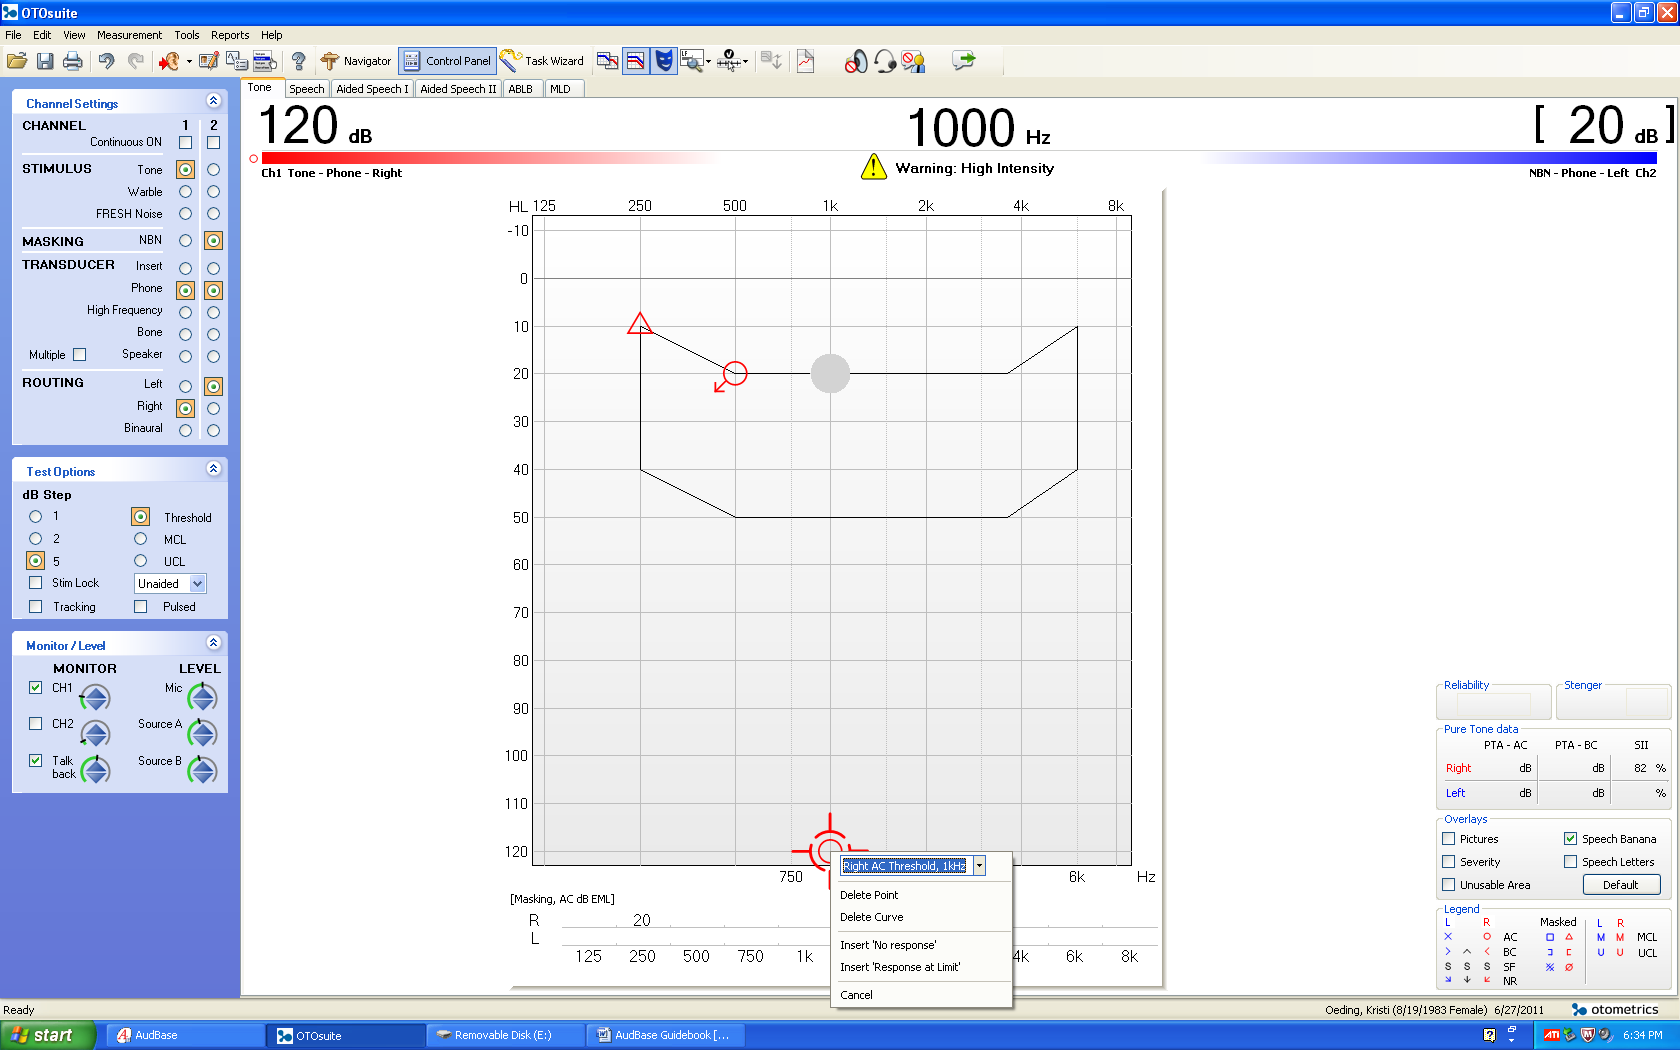
- For no response, right click with the mouse on the threshold symbol on the audiogram and click “Insert ‘No response’”. Note: Other special symbols, such as vibrotactile cannot be added via OtoSuite, but will have to be added once the data is transferred to AudBase.
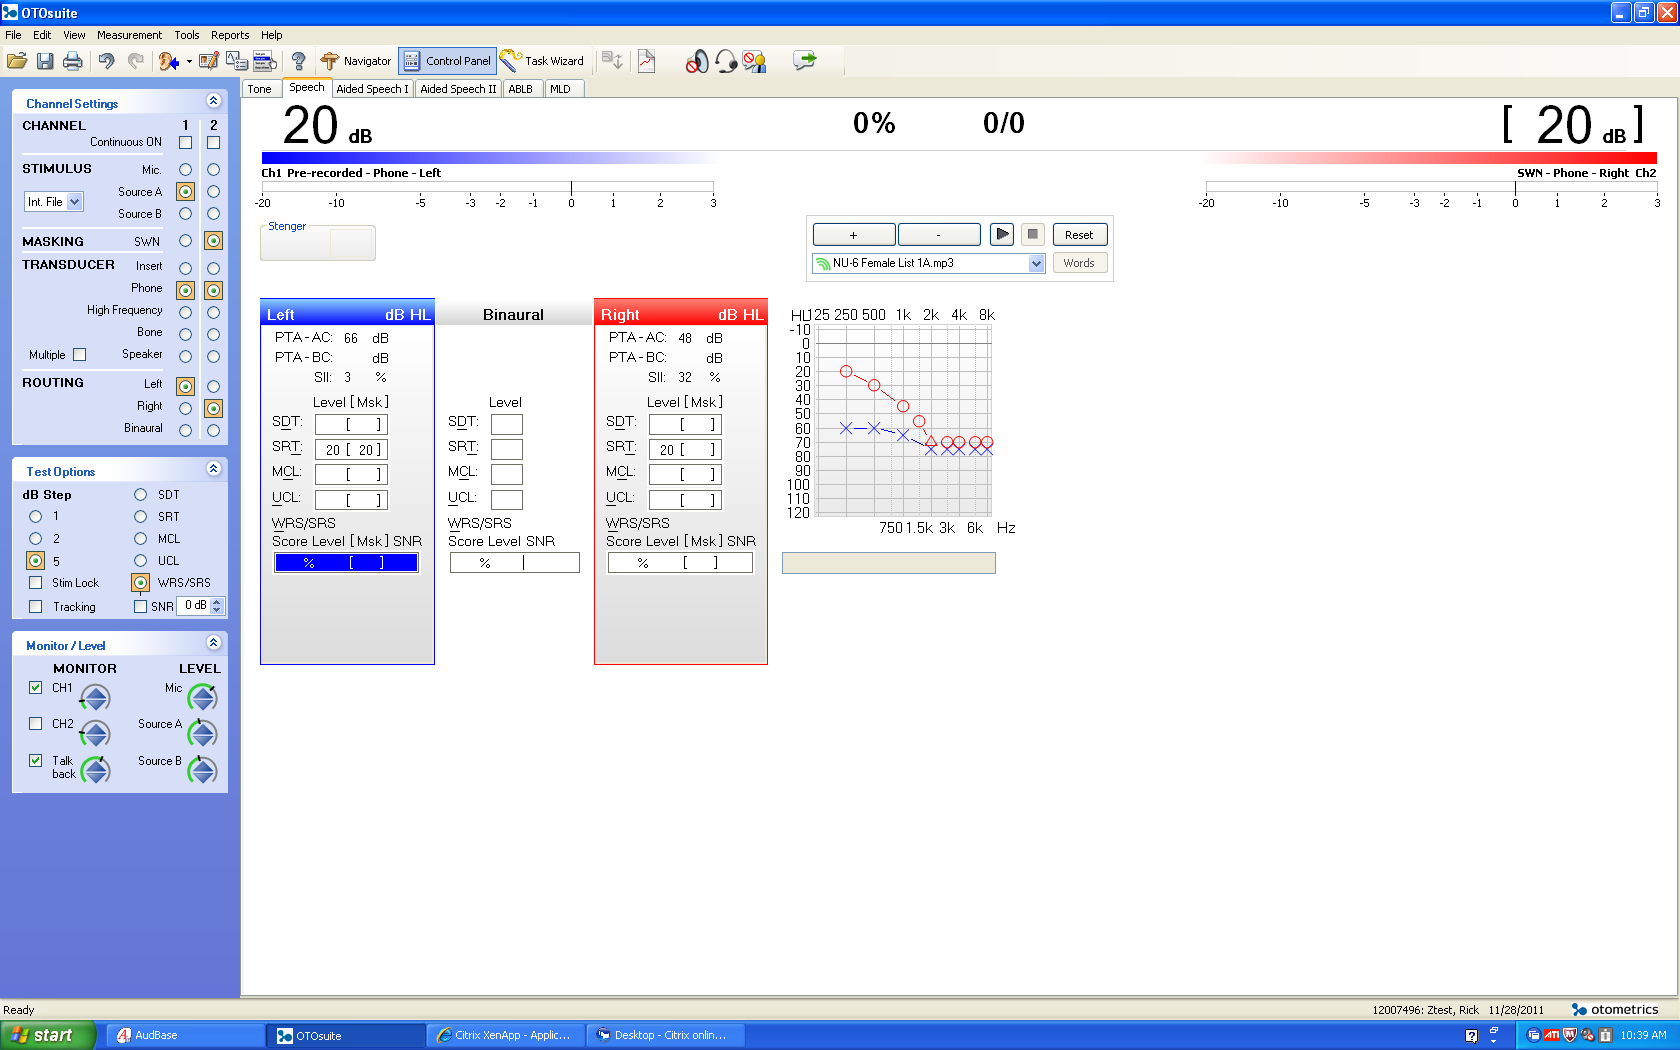
- For SRT/SDT/WRS, choose the respective test by clicking on the button near the test name in the “Test Options” box (see below). You can keep track of answers by pressing the “Correct” and “Incorrect” buttons and pressing “Store” or manually type the score into the box by left clicking on the respective box and clicking “Enter data by typing”. Remember to leave the masking noise on for the masking level to transfer.
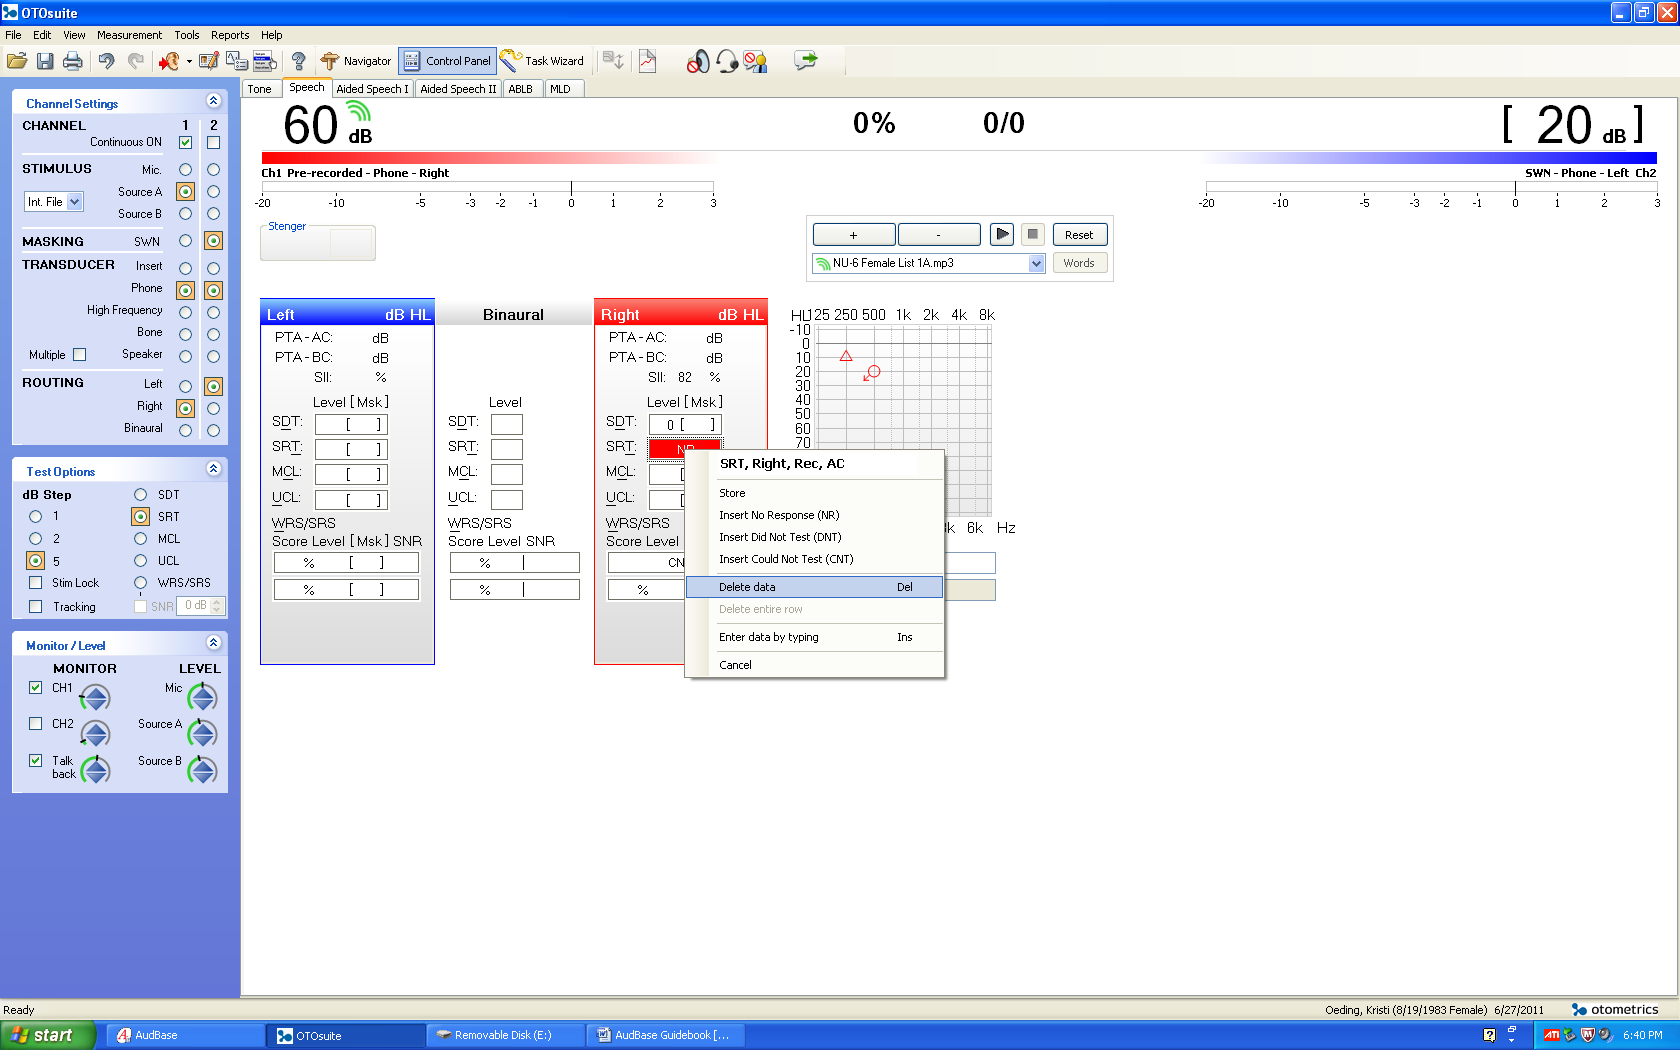
- To insert no response/did not test/could not test, right click on the respective box and click on the respective choice of “Insert No Response (NR)”, “Insert Did Not Test (DNT)”, or “Insert Could Not Test (CNT)”.
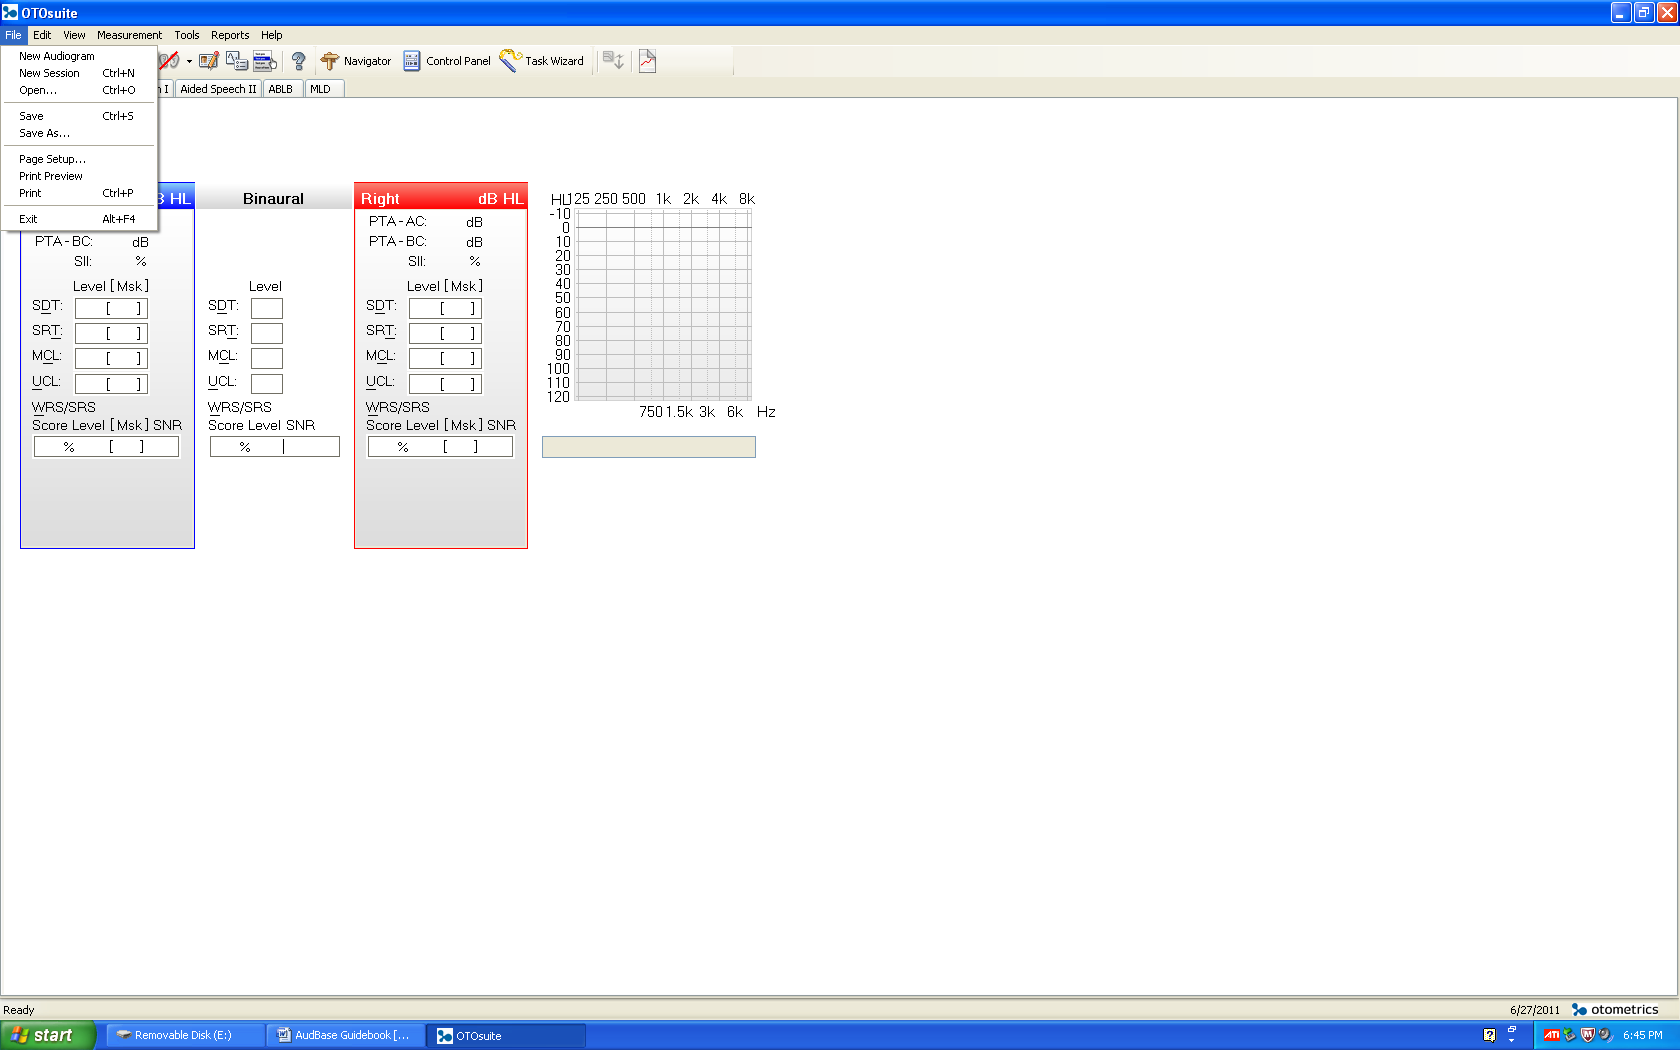
- When finished, click on “File” and click on “Exit” and click “Yes” when asked to save. The data will then transfer to AudBase. You can then add information such as examiner, audiometer, transducer, test method, reliability, and any other notes to the audiogram.
Adding Notes for Case History/Recommendations/Other
- The notes tab (below) is where you can add:
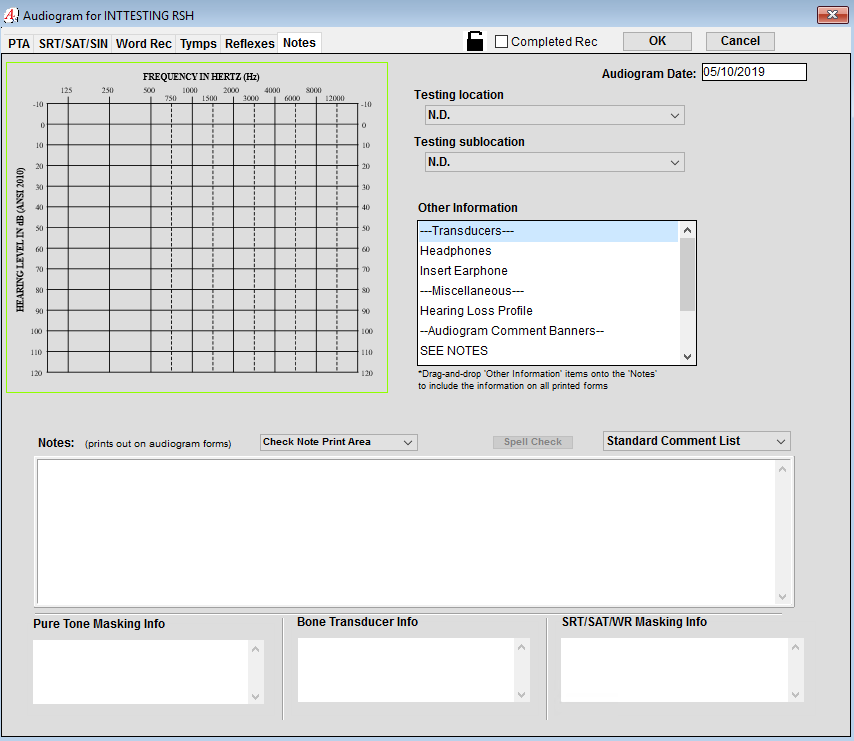
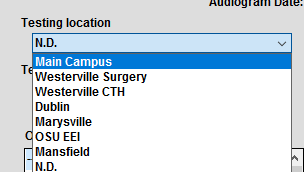
- Testing location by clicking on the box below “Testing location”
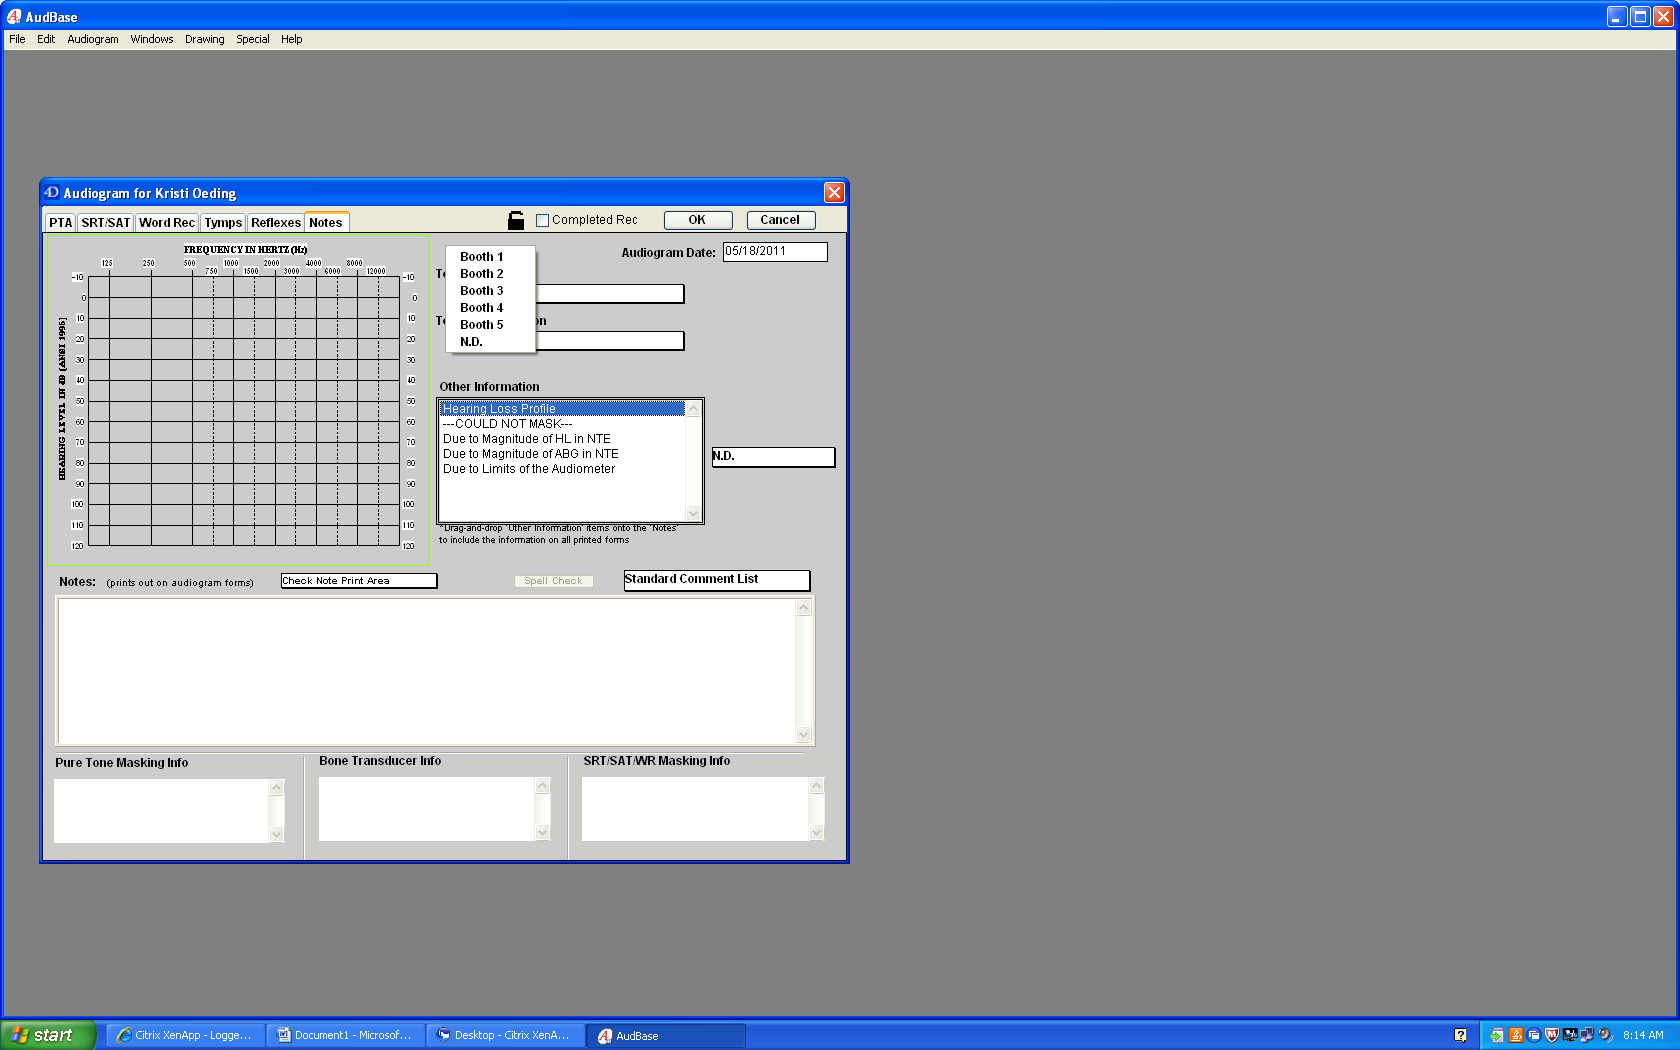
- The booth you tested by clicking on the box under “Testing sublocation”
- The note sections is a free text section typically used to document:
- Validity
- SRT/SAT method of presentation
- Word recognition method of presentation and HL/EM info
- Explanantion of comment symbols (v=vibrotactile, etc.)
- Case History
- Recommendations
- The note sections is a free text section typically used to document:
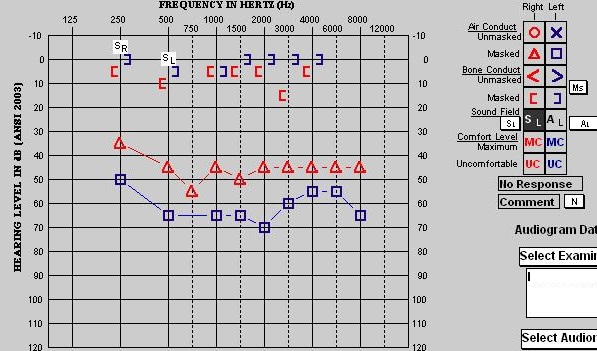
View Previous Audiograms
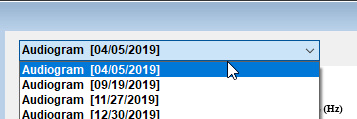
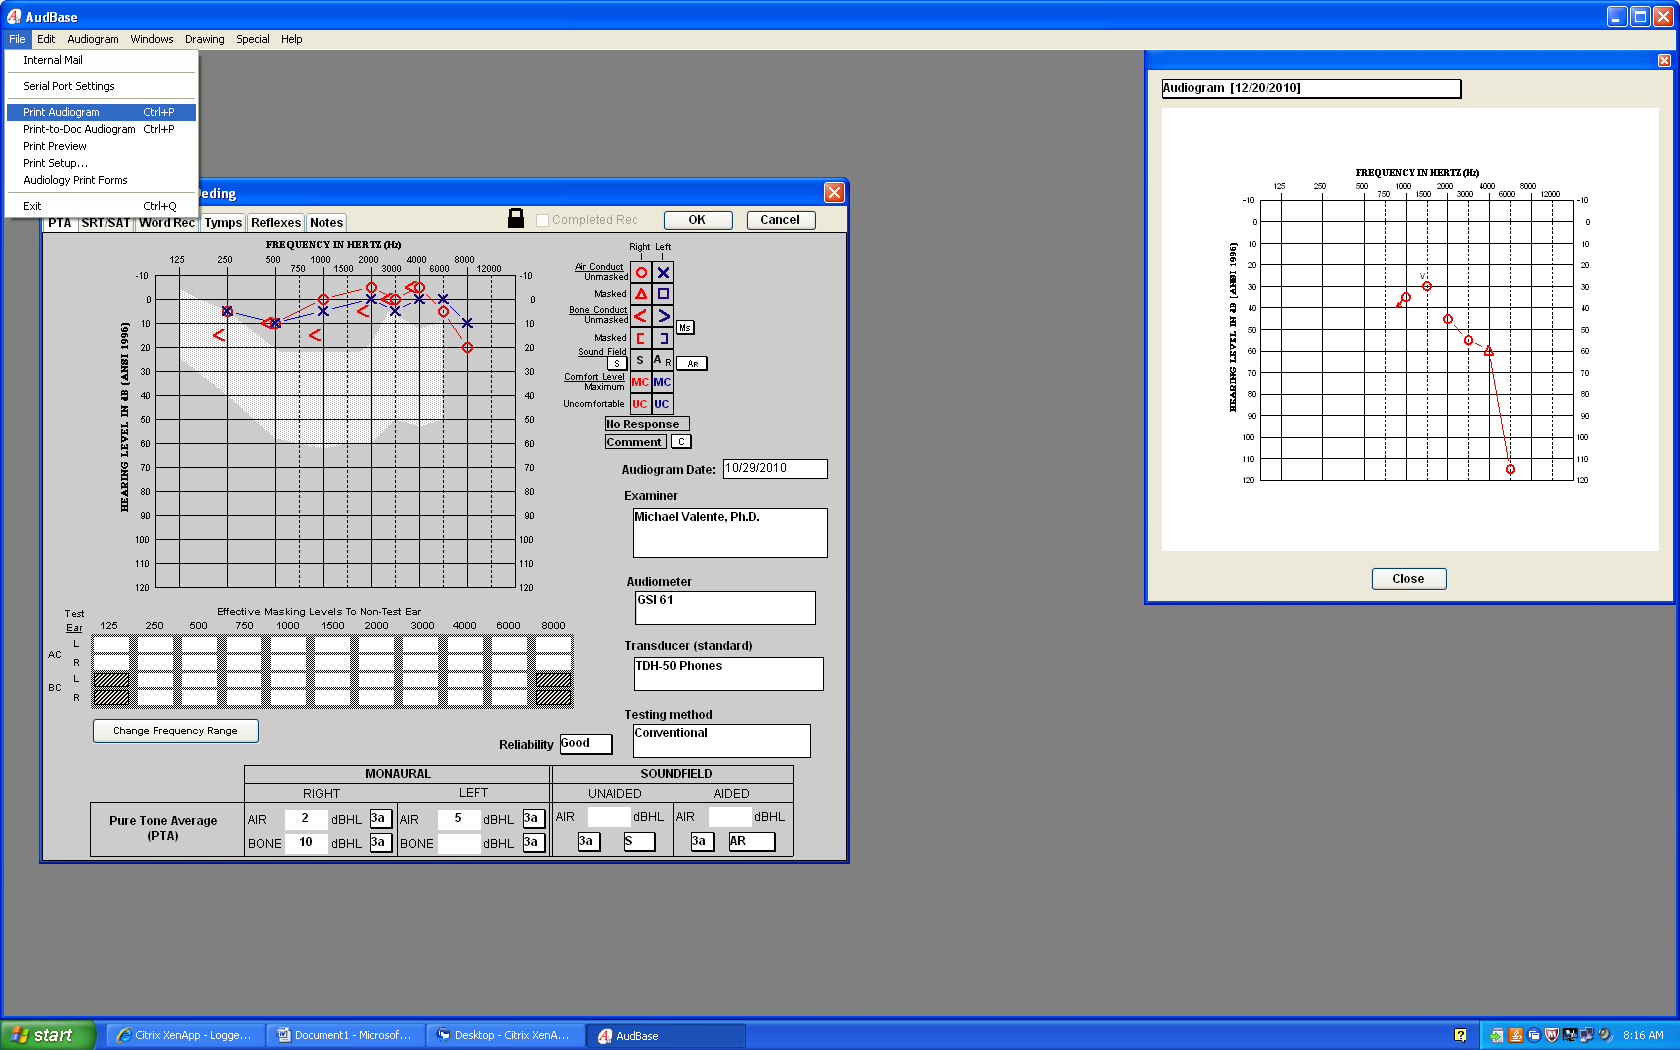
- To view a previous audiogram for comparison, click on “Audiogram” and then click on “Display comparison Audiogram”. The comparison audiogram box will display on the right of the screen.
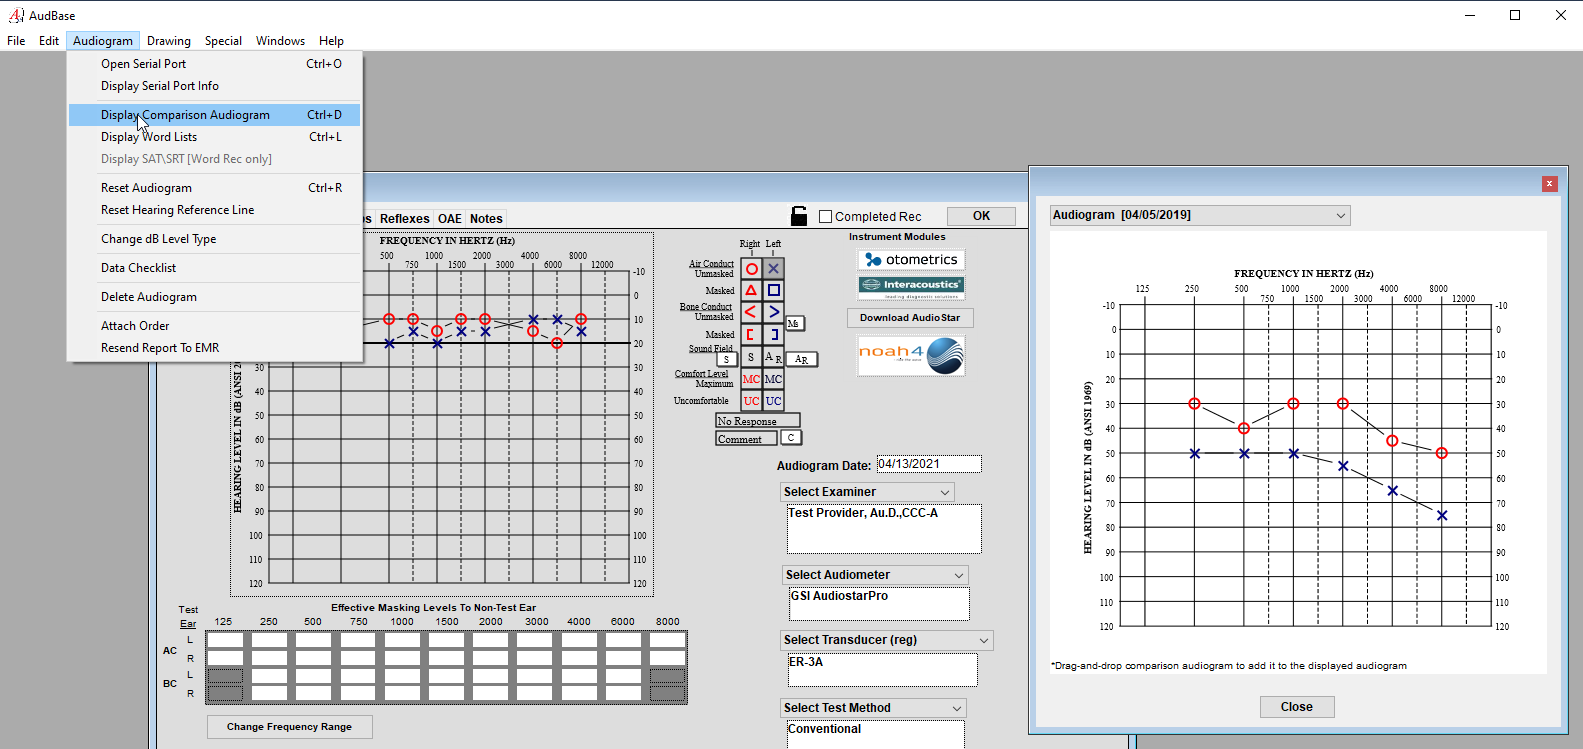
- To look at a different comparison audiogram, click on the box above the audiogram and select the date you would like to view.
Signing a Record
When finished with the audiogram, click “OK” and double click on your name to the left of the screen to sign the report.
*This is the trigger to send the signed report to your EMR
If you are not finished with the report, and wish to add further testing or notes at a later time, click “Save Without Changes” You can revisit this record later to make changes and sign to send to the EMR.

Attaching an Order to a completed Audiogram
 An example of why you would do this is if the patient had not yet been entered into the EMR, so the AudBase worklist did not have the patient listed when you tested the patient. You can still conduct the tests, then “Attach Order” after the Audiogram is completed.
- Open the completed audiogram.
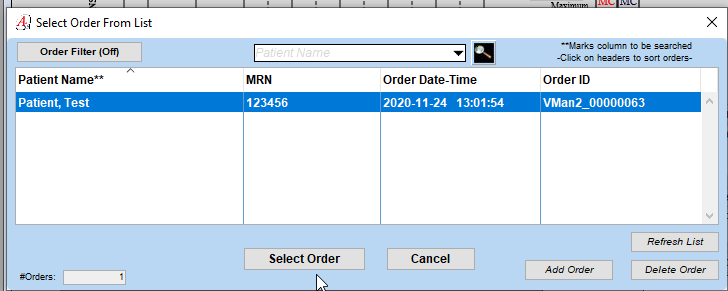
Click “Audiogram” and then “Attach Order”
- Click on the order to highlight it in blue, then click “Select Order”
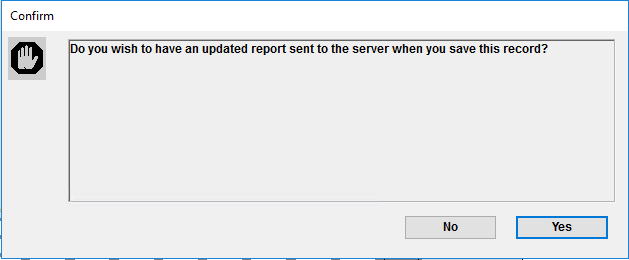
- Click “Yes” on the prompt
- When finished with the audiogram, click “OK” in the upper right hand corner of the audiogram

- Double click on your highlighted name in the box on the left side

- The audiogram will appear in your patient’s EMR encounter as usual.
Revisions and Sending Revision to the EMR
- Open the audiogram you are revising. Click the lock at the top of the screen by the tabs to unlock the file (turns to an open lock)

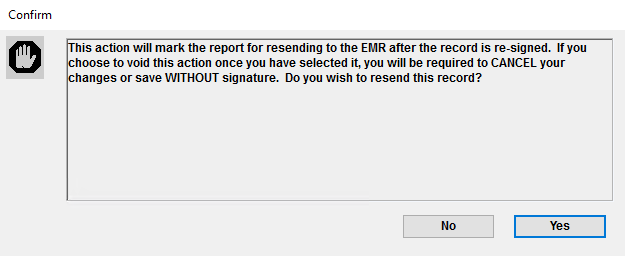
- Make the changes to the patient record, and click “Audiogram” and select “Resend Report to EMR”
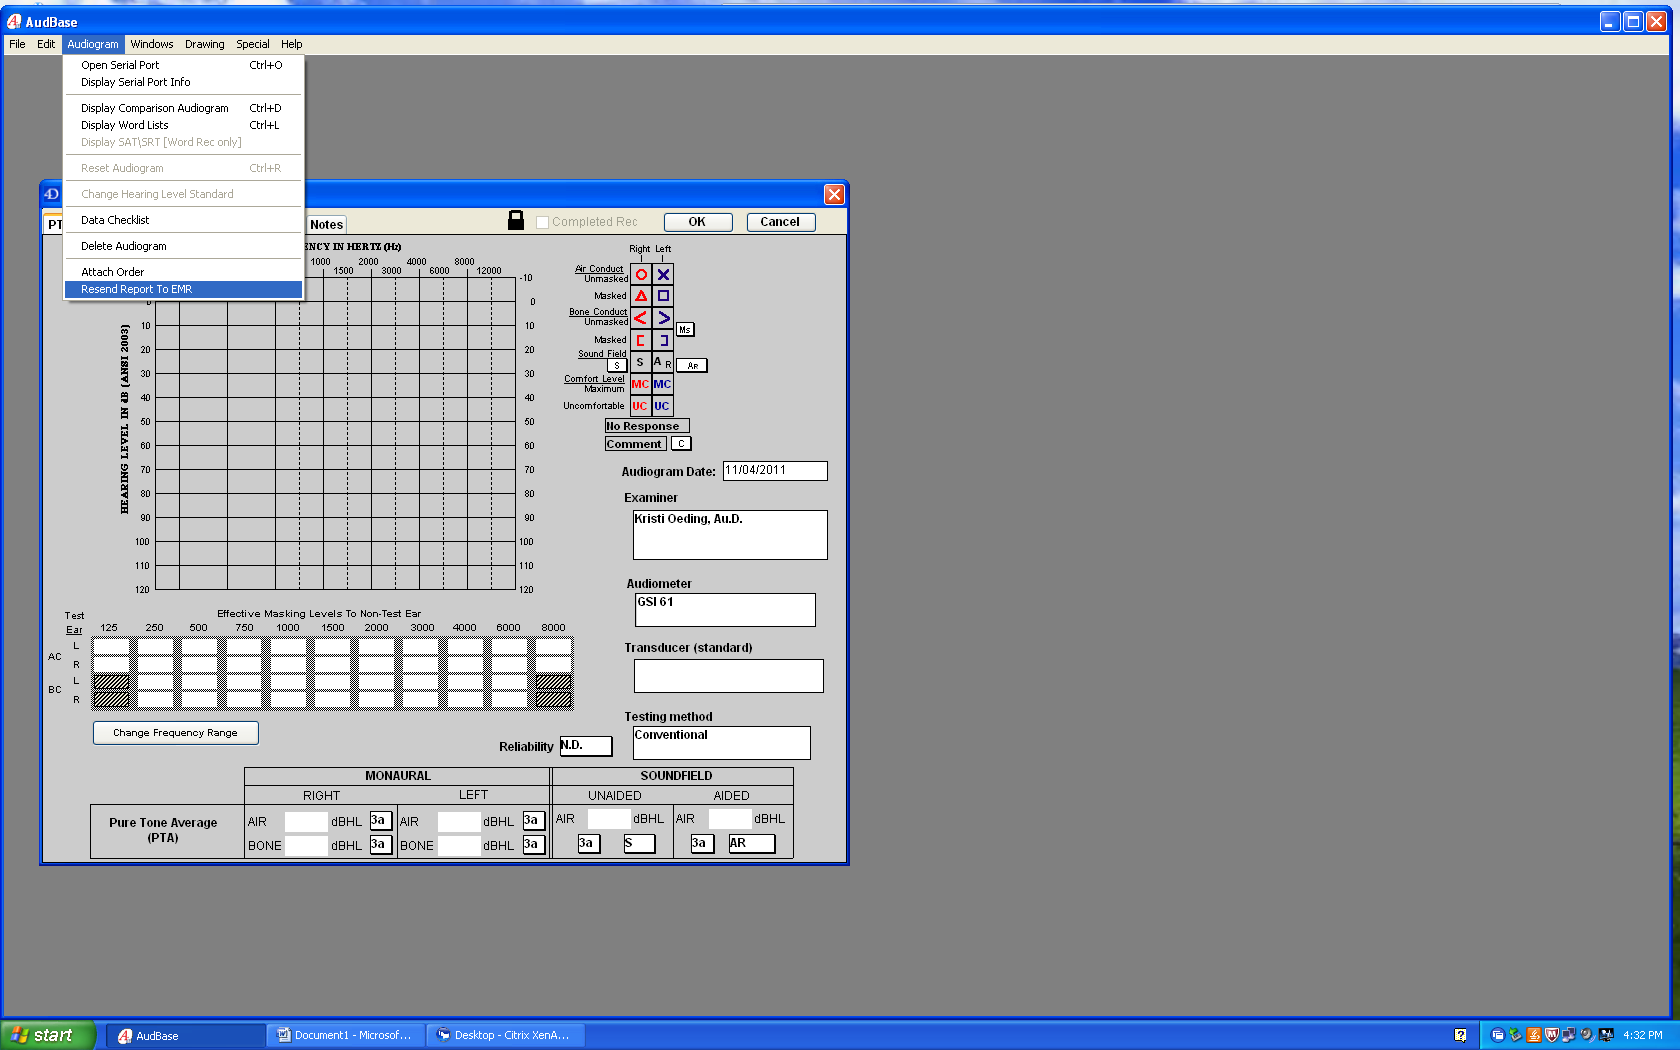
- Click “Yes”
 When finished with the audiogram, click “OK” in the upper right hand corner of the audiogram
- Double click on your highlighted name in the box on the left side and the revised audiogram will be resent to the EMR.

 Printing Audiograms
- If you need to print the audiogram, click on “File” and click “Print Audiogram”.
- Make sure that the correct printer is selected and click “OK”.
Print-to-doc
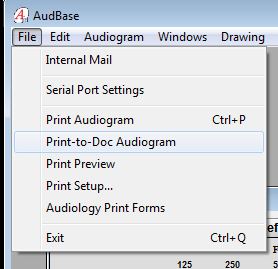 If you need to print-to-doc (create a digital audiogram), click on “File” and click “Print-to-Doc Audiogram”.
Print Multiforms
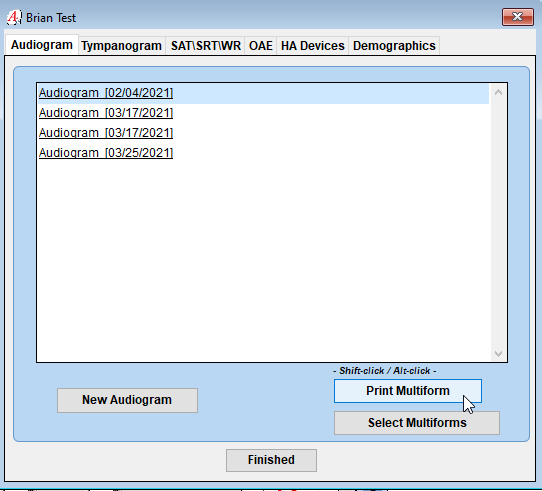
- This is an option to print a page that reports threshold shifts between audiograms (see example on next page). To do this, double click on the patient you want and click “Print Multiform”
- Next select the audiograms you want to be included in the report by clicking on the desired audiogram date(s) and pressing the single arrow button. The double arrow will move all Audiograms to the selected records field. You can remove a selection by clicking it and dragging to the trashcan.
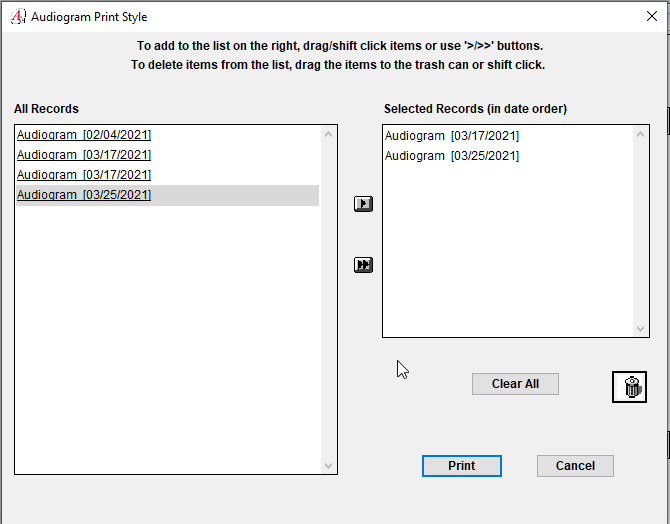
- Once you have all the audiograms you want to compare, click the “Print” button.